Learning how to manage mods on a Minecraft server is essential for administrators who want to deliver a seamless, customizable gameplay experience. Whether you’re running a small vanilla server or a complex modded ecosystem with over 200 mods, proper mod management ensures stability, compatibility, and player satisfaction. In this comprehensive 2025 guide, we’ll walk you through every step—from selecting the right hosting infrastructure to automating updates and troubleshooting conflicts—so you can confidently manage mods on your Minecraft server like a pro.
Why Proper Mod Management Matters for Minecraft Servers
Mods breathe new life into Minecraft, adding everything from quality-of-life improvements to entirely new dimensions, mobs, and gameplay mechanics. However, without careful management, mods can introduce crashes, lag spikes, and version incompatibilities that frustrate players and drain server resources.
When you manage mods on a Minecraft server correctly, you gain several critical advantages:
- Stability: Prevent crashes caused by conflicting libraries or incompatible mod versions.
- Performance: Optimize server load by auditing resource-heavy mods and allocating sufficient RAM.
- Security: Avoid malicious or outdated mods that could compromise server integrity.
- Player Retention: Deliver a smooth, bug-free experience that keeps your community engaged.
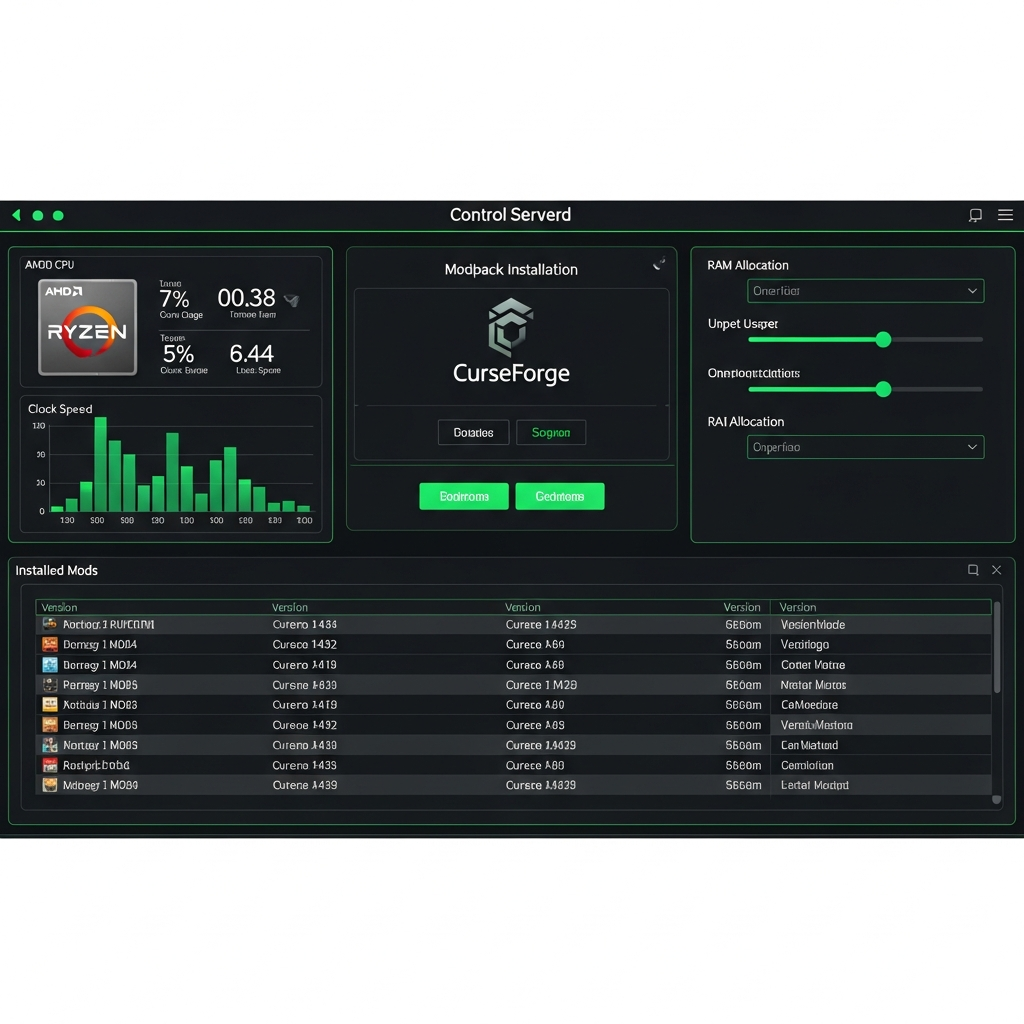
Modern hosting providers like Nexus Games offer one-click modpack installation, seamless CurseForge integration, and powerful hardware—AMD Ryzen 9 7950X3D processors with up to 128 GB DDR5 ECC RAM—ensuring your modded server runs flawlessly even under heavy load.
Choosing the Right Server Environment
Your server environment directly impacts how you manage mods on your Minecraft server. The three most popular options in 2025 are:
| Platform | Best For | Mod Support |
| Forge | Large modpacks (100+ mods) | Excellent (most mods compatible) |
| Fabric | Lightweight performance mods | Good (growing ecosystem) |
| NeoForge | Modern Forge fork (1.20.1+) | Excellent (backward compatible) |
Nexus Games supports all three platforms out of the box, with pre-configured modpacks from CurseForge available for instant deployment. This eliminates manual file uploads and dependency resolution, saving hours of setup time.
Step-by-Step: How to Manage Mods on Minecraft Server Efficiently
Whether you’re starting fresh or migrating an existing server, follow this proven workflow to manage mods on your Minecraft server effectively.
1. Select and Install Your Mod Loader
First, decide which mod loader fits your use case. For maximum compatibility with existing modpacks, Forge remains the industry standard. For bleeding-edge performance optimizations, Fabric is ideal. NeoForge bridges the gap, offering Forge’s mod library with improved code architecture.
With Nexus Games, installation is automatic:
1. Log into your Nexus Games panel
2. Navigate to "Game Versions"
3. Select your Minecraft version (e.g., 1.20.4)
4. Choose mod loader: Forge / Fabric / NeoForge
5. Click "Install" – done in under 60 seconds
2. Install Mods via CurseForge or Manual Upload
The Nexus Games panel integrates directly with CurseForge, letting you browse, install, and update thousands of mods without leaving your dashboard. Simply search for a mod by name, select your desired version, and click “Install.” The system automatically handles dependencies.
For custom or private mods:
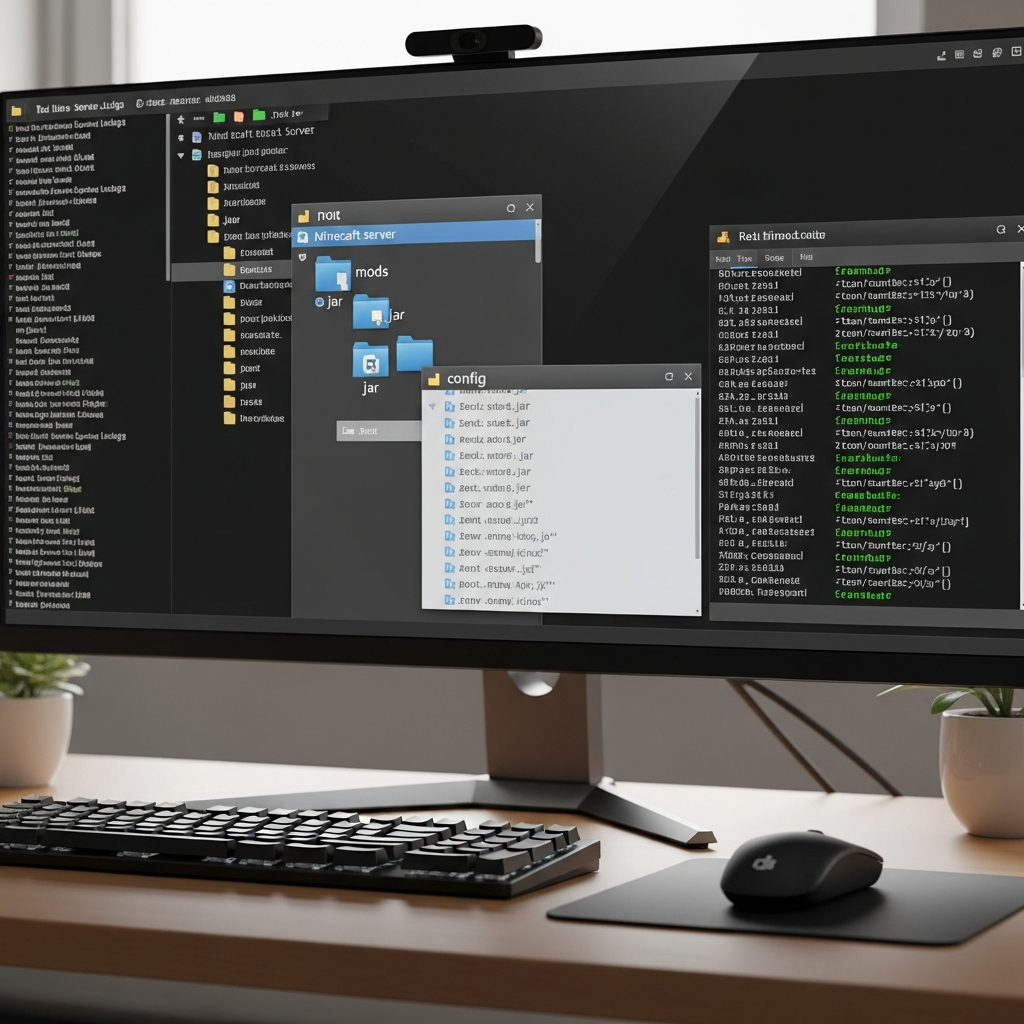
- Download the
.jarfile from the mod’s official source (always verify authenticity to avoid malware). - Upload it to the
/modsfolder via SFTP or the built-in file manager. - Restart your server to load the new mod.
Pro tip: Always check mod compatibility matrices on CurseForge to avoid conflicts between major overhaul mods like Biomes O’ Plenty and Oh The Biomes You’ll Go.
3. Allocate Sufficient Resources
Mods consume significantly more CPU and RAM than vanilla Minecraft. A server with 50+ mods typically requires at least 8 GB of RAM; heavily modded instances (200+ mods) demand 16–32 GB.
Nexus Games servers are powered by AMD Ryzen 9 7950X3D processors (16 cores, 32 threads, up to 5.7 GHz boost) and DDR5 ECC RAM, ensuring:
- Zero lag during chunk generation (critical for mods like Terralith or Supplementaries).
- Instant world saves even with massive modpacks.
- Consistent 20 TPS (ticks per second) under peak load.
Adjust your server’s allocated RAM in the panel under “Startup Settings” → “Memory Allocation.” We recommend starting at 8 GB and scaling up based on player count and mod complexity.
4. Configure Mod Settings and Dependencies
Most mods include configuration files in the /config directory. Key tweaks include:
- JEI (Just Enough Items): Toggle cheat mode on/off.
- Applied Energistics 2: Adjust channel limits and energy consumption.
- Mekanism: Configure ore generation rates to balance economy.
Edit config files directly in the Nexus Games file manager or via SFTP. Always restart your server after making changes.
5. Test for Conflicts and Optimize Performance
After adding mods, test your server thoroughly:
- Check server logs: Look for errors like “ClassNotFoundException” or “missing dependency.”
- Monitor TPS: Use the
/forge tpscommand (or Fabric equivalent) to ensure 20 TPS. - Run stress tests: Simulate player load with tools like MCStress or have your community beta-test.
If you encounter conflicts, isolate the problematic mod by removing half your mods, restarting, and narrowing down the culprit. Update outdated mods or replace them with compatible alternatives.
6. Automate Updates and Backups
Keeping mods updated is tedious but critical for security and compatibility. Nexus Games simplifies this with automated update notifications and one-click patching for CurseForge mods.
For backups:
1. Enable daily automatic backups in your panel
2. Store backups on external cloud storage (AWS S3, Google Drive)
3. Test restore procedures quarterly to ensure data integrity
Never update mods mid-session—always notify players and schedule maintenance windows to avoid rollbacks.
Advanced Mod Management Strategies for Large-Scale Servers
Once you’ve mastered the basics of how to manage mods on a Minecraft server, scaling up requires advanced techniques to maintain performance and stability.
Use Modpacks for Consistency
Instead of managing individual mods, deploy pre-tested modpacks like All the Mods 9, FTB Skies, or Create: Above and Beyond. Modpacks bundle compatible mods with optimized configs, reducing troubleshooting time by 80%.
Nexus Games hosts dozens of pre-configured modpacks, installable in one click. If you need a custom modpack:
- Build it locally using CurseForge or Prism Launcher.
- Export the modpack as a ZIP.
- Upload to your server’s root directory and restart.
Implement Mod Version Control
For community servers, publish a “required mods” list with exact version numbers. Tools like Packwiz or modpack manifests enforce version consistency across clients, preventing connection errors.
Leverage Server-Side-Only Mods
Reduce client-side complexity by using server-side-only mods for administration, performance tuning, and anti-cheat. Examples include:
- Chunky: Pre-generate chunks to eliminate lag during exploration.
- LuckPerms: Granular permission management.
- CoreProtect: Rollback griefing with block-level logging.
These mods don’t require client installation, simplifying onboarding for new players.
Monitor Performance Metrics
Install performance profiling mods like Spark or Observable to identify bottlenecks:
/spark profiler start
(Wait 2–5 minutes)
/spark profiler stop
(Review web report for CPU hotspots)
Common culprits include entity-heavy mods (e.g., Alex’s Mobs spawning 500+ creatures) and inefficient chunk loaders (e.g., poorly configured FTB Chunks).
Use a Staging Environment
For production servers with 50+ players, maintain a separate staging server to test mod updates before deploying them live. Nexus Games makes this easy—spin up a second server instance, clone your production world, and test updates risk-free.
Troubleshooting Common Mod Management Issues
Even experienced admins encounter challenges when they manage mods on a Minecraft server. Here’s how to resolve the most common issues in 2025.
Server Won’t Start After Adding Mods
Possible causes:
- Incompatible mod versions: Verify all mods match your Minecraft and loader versions.
- Missing dependencies: Check crash logs for “missing required library” errors and install dependencies like Architectury API or Cloth Config.
- Insufficient RAM: Increase allocation in startup settings.
Players Can’t Connect (Mod Mismatch)
Ensure clients have identical mod lists and versions. Distribute your modpack via CurseForge, Modrinth, or a direct download link. Enable server-side version checking with mods like ServerCore.
Severe Lag or Low TPS
Profile your server with Spark, then:
- Disable or replace resource-intensive mods.
- Pre-generate your world with Chunky to avoid on-demand generation lag.
- Upgrade to a higher-tier plan with more RAM/CPU cores.
Nexus Games’ infrastructure—NVMe SSDs with 1 Gbps network uplinks—eliminates I/O bottlenecks, ensuring disk operations never throttle your server.
Crashes After Mod Updates
Always read changelogs before updating. Major version jumps (e.g., 1.19.2 → 1.20.1) often break save compatibility. If a crash occurs:
- Restore the previous backup.
- Revert to the last stable mod version.
- Report bugs to the mod developer with full crash logs.
For critical production servers, delay updates by 7–14 days to let the community identify breaking bugs.
To deepen your understanding of server optimization, consult the official Minecraft Wiki server guide for vanilla performance tuning that complements modded setups.
Conclusion
Mastering how to manage mods on a Minecraft server transforms your server from a basic sandbox into a rich, community-driven experience. By selecting robust hosting infrastructure—like Nexus Games’ AMD Ryzen 9 7950X3D servers with DDR5 ECC RAM—automating updates, and proactively troubleshooting conflicts, you ensure stability and performance at any scale. Whether you’re running a 10-player survival server or a 500-player modded RPG, the strategies in this guide will empower you to manage mods confidently in 2025 and beyond.
FAQ
Can I manage mods on my Minecraft server without restarting it every time?
Most mods require a full server restart to load or unload properly. However, some lightweight server-side mods support hot-reloading via commands. For production environments, always schedule maintenance windows to avoid disrupting players. Nexus Games servers restart in under 30 seconds thanks to NVMe SSD storage, minimizing downtime.
How do I prevent mod conflicts when managing hundreds of mods on my Minecraft server?
Use pre-tested modpacks like FTB or All the Mods, which bundle compatible mods with optimized configs. If building a custom pack, install mods incrementally—add 10–20 at a time, test stability, then continue. Tools like Mod Compatibility Checker (available on CurseForge) can flag known conflicts before installation.
What’s the best way to update mods on a Minecraft server without breaking existing worlds?
Always back up your world before updating mods. Check mod changelogs for breaking changes or save incompatibilities. Test updates on a staging server first, then deploy to production. Nexus Games’ automated backup system ensures you can roll back instantly if an update causes issues, protecting your players’ progress.