Learning how to create multiplayer Minecraft server in 2025 is easier than ever thanks to modern infrastructure and streamlined hosting solutions. Whether you’re building a private community for friends or launching a public network with custom mods and plugins, this comprehensive guide will walk you through every step—from selecting the right hardware to configuring server settings and ensuring optimal performance.
Why Create Your Own Multiplayer Minecraft Server?
Hosting your own Minecraft server gives you complete control over gameplay rules, installed mods, player permissions, and world settings. Unlike third-party realms or public servers, a dedicated Minecraft multiplayer server lets you customize every aspect of the experience—from PvP rules and economy plugins to custom terrain generators and mini-game modes.
Running a server also enables you to build a lasting community. You can whitelist trusted players, set up Discord integrations, and maintain persistent worlds that evolve over months or years. For content creators and streamers, a private server becomes a platform for collaborative builds, roleplay series, and scheduled events that engage your audience.
The technical requirements have become more accessible in 2025. Modern server hosts offer one-click modpack installations, automated backups, and DDoS protection as standard features. When choosing infrastructure to create multiplayer Minecraft server environments, prioritize processors with high single-thread performance—Minecraft’s server software relies heavily on single-core speed for world simulation and entity processing.
Choosing the Right Infrastructure to Create Multiplayer Minecraft Server
The foundation of any successful Minecraft server is reliable hardware. For small private servers (5–10 players), you can start with modest resources: 4GB DDR5 ECC RAM and 2 CPU cores. Medium communities (10–50 players) benefit from 8–16GB RAM and 4+ cores, while large public networks (50+ concurrent players) require 32GB+ RAM and at least 8 dedicated cores.
Processor and RAM Requirements
Minecraft server performance scales directly with CPU clock speed. The AMD Ryzen 9 7950X3D delivers exceptional single-thread performance at up to 5.7 GHz, making it ideal for heavily modded servers or those running complex redstone contraptions. Its 16 cores and 32 threads also handle parallel tasks like chunk generation and plugin operations efficiently.
DDR5 ECC memory ensures data integrity during long server sessions. Error-correcting code (ECC) prevents corruption in world files and player data—critical for servers running 24/7. Allocate at least 4GB RAM to the Java Virtual Machine (JVM) for vanilla servers, and scale up to 16–32GB for modpacks like All the Mods 9 or Create: Above and Beyond.
Storage: NVMe SSD for Fast World Loading
NVMe SSDs reduce world load times and chunk rendering delays by up to 10× compared to traditional SATA drives. A 50GB NVMe partition is sufficient for vanilla Minecraft, but modded servers with extensive world exploration can consume 200GB+. Automated daily backups to separate storage pools protect against data loss from corruption or griefing incidents.

Network Bandwidth and DDoS Protection
Multiplayer servers require stable, low-latency connections. A 1 Gbps network link handles hundreds of simultaneous players without bottlenecks. Game-specific Anti-DDoS protection filters malicious traffic before it reaches your server, preventing attacks that could crash your world or disconnect players during critical events.
When you create multiplayer Minecraft server instances on managed platforms like Nexus Games Minecraft hosting, these protections are included by default, along with enterprise-grade firewall rules and automatic traffic shaping during peak hours.
Step-by-Step: How to Create Multiplayer Minecraft Server
This section covers the complete setup process, from initial server configuration to advanced optimization for modded gameplay.
Step 1: Select Your Server Software
Choose between several Minecraft server platforms based on your needs:
- Vanilla (Official Java Edition): Pure Minecraft experience with no plugin support. Best for small private servers focused on survival or creative building.
- Paper/Spigot: Optimized vanilla servers with plugin compatibility. Supports Bukkit/Spigot plugins for economy systems, land claiming, and anti-grief tools.
- Forge/Fabric: Modded server frameworks. Required for technical mods like Create, Mekanism, or Tinkers’ Construct. Fabric offers faster updates for newer Minecraft versions.
- Hybrid (Mohist/Magma): Combine mods and plugins on a single server. Useful for networks that need both custom mods and administrative plugins.
Modern hosting panels let you switch between these platforms with one click. Simply select your preferred server type, choose a Minecraft version (1.20.4, 1.19.2, etc.), and the control panel automatically downloads and configures the necessary files.
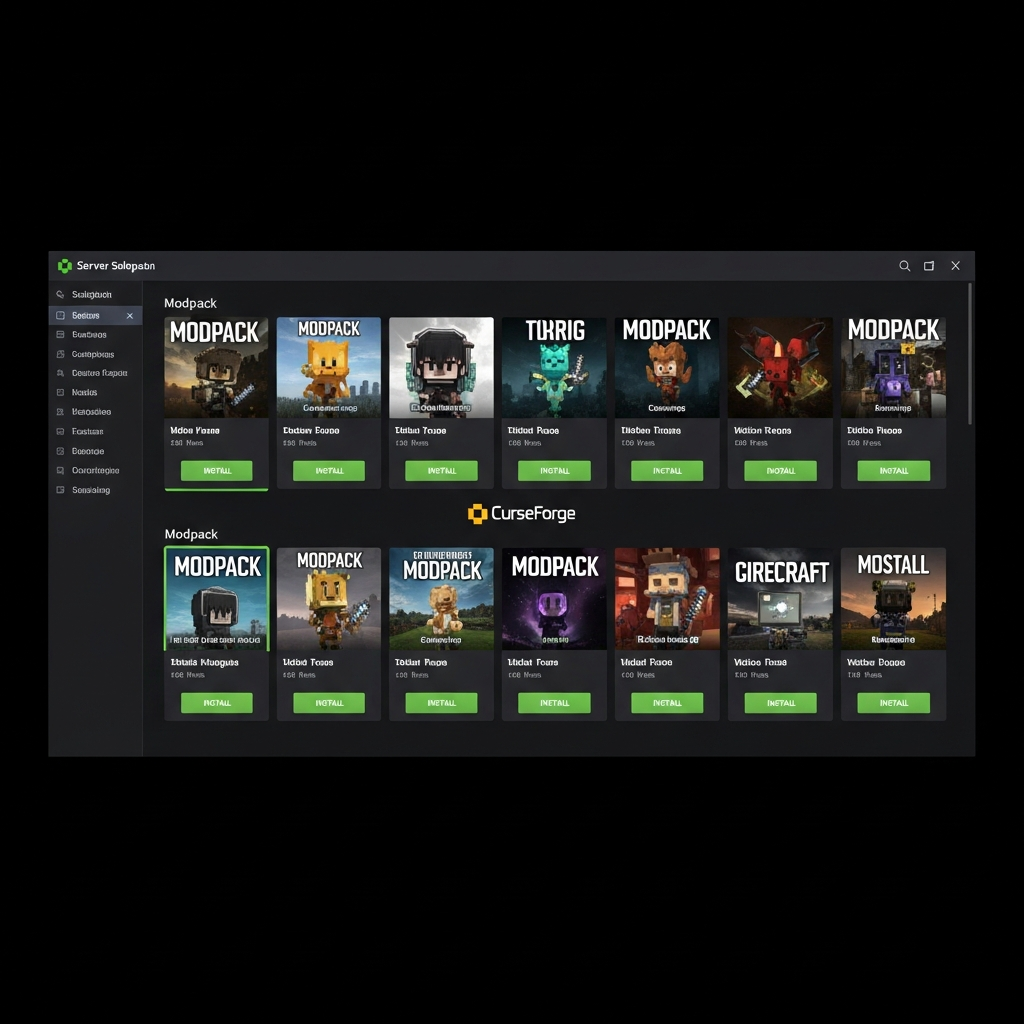
Step 2: Install Modpacks (Optional)
For modded servers, use pre-configured modpacks from CurseForge or Modrinth. Popular 2025 modpacks include:
| Modpack | Focus | RAM Required |
| All the Mods 9 | Kitchen-sink (300+ mods) | 12–16 GB |
| Create: Above and Beyond | Engineering & automation | 8 GB |
| Vault Hunters 3 | RPG progression & dungeons | 6–8 GB |
| Better Minecraft [PLUS] | Enhanced vanilla experience | 6 GB |
Managed hosting platforms offer one-click modpack installation—browse the catalog, select your pack, and the system handles dependency resolution, version matching, and configuration file setup. This eliminates manual file transfers and compatibility troubleshooting.
Step 3: Configure Server Properties
Edit server.properties to customize gameplay rules. Key settings include:
server-port=25565
max-players=50
difficulty=hard
gamemode=survival
pvp=true
view-distance=12
simulation-distance=8
online-mode=true
white-list=false
spawn-protection=16
View-distance and simulation-distance heavily impact performance. Reduce these values on servers with many players or extensive farms. Set online-mode=false only for offline/cracked servers (not recommended for security). Enable white-list=true for private communities to control access.
Step 4: Optimize JVM Startup Flags
Java Virtual Machine flags improve garbage collection and memory management. For Minecraft 1.20+ with 8GB allocated RAM, use:
java -Xms8G -Xmx8G -XX:+UseG1GC -XX:+ParallelRefProcEnabled -XX:MaxGCPauseMillis=200 -XX:+UnlockExperimentalVMOptions -XX:+DisableExplicitGC -XX:G1NewSizePercent=30 -XX:G1MaxNewSizePercent=40 -XX:G1HeapRegionSize=8M -XX:G1ReservePercent=20 -XX:G1HeapWastePercent=5 -XX:G1MixedGCCountTarget=4 -XX:InitiatingHeapOccupancyPercent=15 -XX:G1MixedGCLiveThresholdPercent=90 -XX:SurvivorRatio=32 -XX:+PerfDisableSharedMem -XX:MaxTenuringThreshold=1 -jar server.jar nogui
These flags reduce lag spikes from garbage collection pauses and improve overall tick stability. Adjust -Xms and -Xmx to match your allocated RAM (always set them equal to prevent dynamic heap resizing).
Step 5: Set Up Port Forwarding and Firewall Rules
If self-hosting on a home network, forward TCP port 25565 through your router to the server’s local IP. Create an inbound firewall rule allowing traffic on this port. For security, restrict connections to known IP ranges when possible.
Managed hosting eliminates this step—your server receives a dedicated IP and pre-configured firewall rules. Simply share the IP address with your players (e.g., play.yourserver.com or 123.45.67.89).
Step 6: Install Essential Plugins (Paper/Spigot)
Core plugins for multiplayer servers include:
- EssentialsX: Player commands (/home, /tpa, /warp), kits, and economy basics.
- CoreProtect: Block logging and rollback tool for grief recovery.
- LuckPerms: Advanced permission management for staff ranks and player groups.
- Vault: Economy API for integrating shop plugins and currency systems.
- WorldEdit/WorldGuard: Region protection and terrain editing tools.
Download plugins from SpigotMC or Modrinth, then upload them to the /plugins folder. Restart the server to generate configuration files, then customize settings via each plugin’s config.yml.
Advanced Configuration and Performance Tuning
Once your basic server runs smoothly, implement these optimizations to handle growth and improve player experience.
Database Integration for Persistent Data
Migrate plugin data from flat files (YAML) to MySQL or MariaDB for faster queries and better data integrity. Plugins like LuckPerms, CoreProtect, and GriefPrevention support database backends. Configure connection pooling in each plugin’s config to reduce latency:
storage:
  method: mysql
  data:
    address: localhost:3306
    database: minecraft
    username: mc_user
    password: secure_password
    pool-settings:
      maximum-pool-size: 10
      minimum-idle: 5
      connection-timeout: 5000
Chunk Pregenerator for Exploration Servers
Pregenerate world chunks to eliminate lag from on-the-fly terrain generation. Use Chunky plugin to create a 10,000-block radius around spawn before launch:
/chunky world world
/chunky radius 5000
/chunky start
Monitor progress in console—pregeneration can take hours depending on world size and server CPU. This one-time process dramatically improves exploration performance, especially on modded servers with complex world generation.
Tick Rate Monitoring and Optimization
Minecraft servers run at 20 ticks per second (TPS). When TPS drops below 20, gameplay slows—crops grow slower, redstone delays, and movement feels sluggish. Use Spark profiler to identify lag sources:
/spark profiler start
# Play for 2–3 minutes
/spark profiler stop
/spark profiler open
The web report highlights CPU-intensive entities, chunk load times, and plugin overhead. Common fixes include reducing entity counts (farms, mob grinders), limiting hopper chains, and optimizing plugin configurations.
Automatic Restarts and Backup Schedules
Schedule daily restarts at low-traffic hours (e.g., 4 AM) to clear memory leaks and refresh plugin caches. Use a systemd timer (Linux) or Task Scheduler (Windows) to automate the process. Before each restart, trigger a world backup to prevent data loss:
#!/bin/bash
# Auto-restart script
screen -S minecraft -X stuff "say Server restarting in 5 minutes!\n"
sleep 300
screen -S minecraft -X stuff "save-all\n"
sleep 10
screen -S minecraft -X stuff "stop\n"
sleep 30
cp -r /server/world /backups/world-$(date +%Y%m%d-%H%M%S)
screen -dmS minecraft java @flags.txt -jar server.jar nogui
Managed hosting panels automate this workflow—set restart intervals and backup retention policies via the web interface. Backups are stored on separate infrastructure to protect against hardware failure.
Scaling Your Multiplayer Minecraft Server
As your community grows, implement these strategies to maintain performance and player engagement.
Multi-Server Networks with BungeeCord
Split your player base across multiple backend servers connected via BungeeCord or Velocity proxy. Create dedicated servers for different game modes:
- Lobby: Spawn hub with NPCs and game selectors.
- Survival: Main world with economy, land claiming, and player shops.
- Creative: Dedicated plots for building without survival constraints.
- Minigames: SkyBlock, BedWars, or custom arenas on separate instances.
Players connect to the proxy (e.g., play.yournetwork.com) and seamlessly switch between servers via portals or commands. This architecture distributes CPU load and isolates server crashes—if the minigame server crashes, survival players remain unaffected.
CDN for Resource Packs and Assets
Host custom resource packs on a CDN (Cloudflare, BunnyCDN) instead of the game server. This reduces bandwidth usage during player joins and speeds up pack downloads globally. Configure the pack URL in server.properties:
resource-pack=https://cdn.yournetwork.com/resourcepack.zip
resource-pack-sha1=abc123...
require-resource-pack=true
Community Engagement Tools
Integrate Discord with your Minecraft server using DiscordSRV plugin. Sync in-game chat with a Discord channel, display player join/leave notifications, and allow Discord users to view online players. Configure webhooks for server events like player achievements, deaths, and staff actions.
Set up a web panel with Plan plugin to display live server statistics, player leaderboards, and interactive maps. Share the web link on your Discord and social media to attract new players.
Maintaining a successful multiplayer server requires consistent updates, active moderation, and community feedback. When you create multiplayer Minecraft server projects with these tools and optimization practices, you build a stable platform that can scale from a small friend group to a thriving public network.
For hassle-free scaling, consider Nexus Games Minecraft server hosting, which offers flexible resource upgrades, automatic modpack updates, and 24/7 technical support to handle growth without server administration headaches.
Creating and managing a multiplayer Minecraft server in 2025 combines technical infrastructure with community building. By choosing high-performance hardware like the AMD Ryzen 9 7950X3D with DDR5 ECC RAM, optimizing JVM settings, and leveraging modern tools for modpacks and plugins, you establish a foundation for long-term success. Regular performance monitoring, automated backups, and proactive community engagement ensure your server remains stable and enjoyable as it grows from a private world to a vibrant multiplayer network.
FAQ
How much RAM do I need to create multiplayer Minecraft server for 20 players?
For a vanilla server with 20 players, allocate at least 4–6 GB of DDR5 ECC RAM. If running modpacks like All the Mods 9 or Create: Above and Beyond, increase allocation to 10–12 GB to handle mod processing and entity simulation. Monitor RAM usage via server console—if you approach the allocation limit, upgrade to prevent lag spikes.
Can I switch between modpacks without losing my world data?
Switching modpacks requires creating a new world unless both packs share identical mod lists and world generation settings. To preserve player data (inventories, homes), back up the /world folder before switching, then use plugins like Multiverse to run multiple worlds simultaneously—one for each modpack. This approach allows players to switch between modded and vanilla worlds using /mv tp commands.
What’s the best way to protect my server from griefing and hacking?
Install CoreProtect for block logging and rollback capabilities—if a griefer destroys builds, roll back their actions with /co rollback u:playername t:7d. Use LuckPerms to restrict destructive commands to trusted ranks. Enable online-mode=true in server.properties to enforce Mojang authentication, preventing cracked accounts. For advanced DDoS protection, choose managed hosting with game-specific Anti-DDoS filters that block malicious traffic before it reaches your server.