If you’re wondering how to host Minecraft server for free, you’re in the right place. In this comprehensive 2025 guide, we’ll explore every viable method to run your own Minecraft world without spending a dollar upfront, compare free solutions against affordable professional hosting, and help you decide which path suits your technical skills and player count. Whether you’re launching a small server for friends or testing a modded setup before scaling, understanding the trade-offs between free DIY hosting and budget-friendly managed services is essential.
Understanding Free Minecraft Server Hosting Options
When you decide to host Minecraft server for free, you’re choosing between self-hosting on your own hardware or leveraging free-tier cloud services. Each approach carries distinct advantages and limitations. Self-hosting means running the server software on a spare PC or laptop at home, giving you full control over mods, plugins, and world files. However, you’ll face bandwidth constraints, electricity costs, and potential security risks if your home IP is exposed. Free cloud platforms like Oracle Cloud (always-free tier), Amazon Web Services (12-month free tier), or Google Cloud Platform (limited free credits) offer virtual machines with public IPs, but they demand Linux command-line proficiency and manual configuration of firewalls, Java runtime, and server binaries.
Another popular route is using free Minecraft hosting providers such as Aternos, Minehut, or server.pro. These platforms abstract most technical complexity—you click a few buttons, select a modpack or plugin set, and your server spins up in minutes. The catch? Severe player-slot caps (typically 2–10 concurrent players), advertisements before joining, automatic server shutdown after inactivity, and limited RAM allocations (often 1–2 GB). Performance suffers under heavy modpacks like FTB or All the Mods, and you cannot guarantee 24/7 uptime. For casual testing or tiny friend groups, these services work; for anything beyond that, you’ll quickly hit ceilings.
Pros and Cons of Free Hosting
- Pros: Zero financial cost, instant setup with managed platforms, educational opportunity to learn Linux/networking if self-hosting.
- Cons: Limited player slots, low RAM, poor performance for modded gameplay, no dedicated support, potential data loss, downtime during inactivity, and IP exposure if hosting at home.
Before committing, assess your player count, desired uptime, and willingness to troubleshoot. If you plan to run Forge or Fabric mods, install CurseForge modpacks, or support more than five simultaneous players, free hosting rarely suffices. Transitioning to a low-cost managed solution early saves frustration and ensures a smoother experience. Nexus Games offers Minecraft server hosting from $4.91/month, powered by AMD Ryzen 9 7950X3D processors and DDR5 ECC RAM, with one-click modpack installation and 24/7 support—eliminating the headaches of DIY setups while keeping costs minimal.

Step-by-Step: Self-Hosting a Free Minecraft Server at Home
To host Minecraft server for free on your own hardware, you’ll need a computer capable of staying online continuously (an old laptop or desktop works fine), a stable internet connection with at least 5 Mbps upload speed per player, and patience for command-line tasks. First, download the official Minecraft server JAR from minecraft.net/download/server. Ensure you have Java 17 or newer installed—check by running java -version in your terminal. If Java is missing, install OpenJDK from your operating system’s package manager or download it from AdoptOpenJDK.
Installation and Configuration
Create a dedicated folder for your server (e.g., C:\MinecraftServer on Windows or ~/minecraft-server on Linux/macOS). Place the downloaded JAR file inside, then open a terminal in that directory and execute:
java -Xmx2G -Xms2G -jar server.jar noguiThe -Xmx2G flag allocates 2 GB of RAM (adjust based on available memory and player count—vanilla servers need roughly 1 GB baseline plus 100–200 MB per player). On first run, the server will generate eula.txt and exit. Open eula.txt in a text editor, change eula=false to eula=true, and save. Run the JAR command again; the server will build world files and start listening on port 25565.
Port Forwarding and External Access
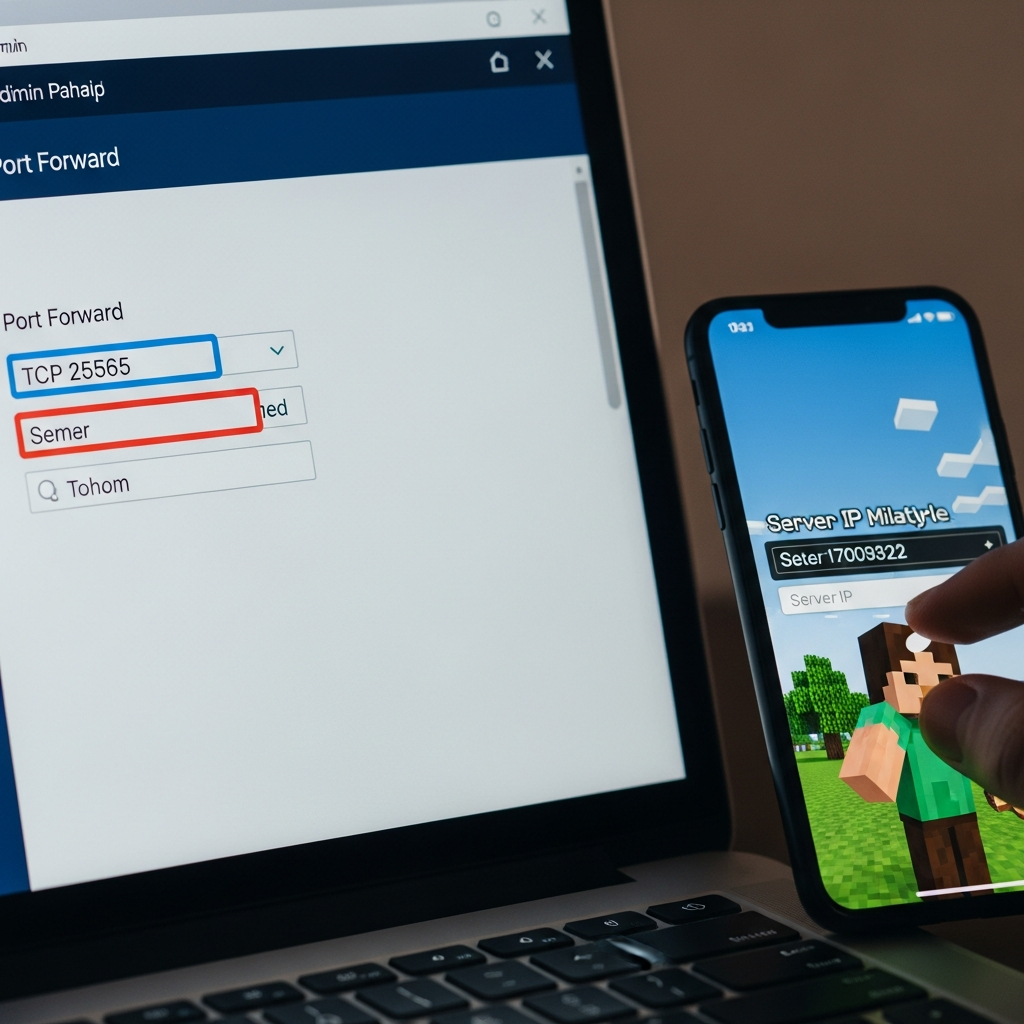
By default, players on your local network can connect using your machine’s private IP (find it with ipconfig on Windows or ifconfig/ip a on Linux). For friends outside your network to join, configure port forwarding on your router. Log into your router’s admin panel (typically 192.168.1.1 or 192.168.0.1), locate the port-forwarding section, and create a rule forwarding external TCP port 25565 to your server PC’s local IP on port 25565. Save and reboot the router. Share your public IP (check at whatismyipaddress.com) with players—they’ll connect via YourPublicIP:25565.
| Component | Recommended Minimum |
| RAM | 4 GB (2 GB allocated to server) |
| Upload Speed | 5 Mbps per player |
| Java Version | 17 or newer (LTS releases) |
| Storage | SSD (NVMe preferred for faster chunk loading) |
Security Warning: Exposing your home IP poses risks. Use a dynamic DNS service (e.g., No-IP, DuckDNS) to mask IP changes and consider a VPN or firewall rules to limit connections. Never run the server with administrator privileges, and keep Java and server software updated to patch vulnerabilities. For those uncomfortable with network exposure, a managed host like Nexus Games provides anti-DDoS protection and isolated server environments, removing security concerns entirely.
Using Cloud Free Tiers and Managed Free Hosts
Cloud providers offer virtual machines with generous free tiers—Oracle Cloud’s always-free tier includes an Ampere A1 Compute instance (4 cores ARM, 24 GB RAM), sufficient for a modded Minecraft server. Sign up, launch an Ubuntu instance, SSH in, and follow standard Linux server setup: update packages (sudo apt update && sudo apt upgrade), install Java (sudo apt install openjdk-17-jre-headless), download the server JAR, and run it inside a screen or tmux session so it persists after logout. Configure the instance’s firewall (open port 25565) and Oracle’s cloud security list to allow ingress traffic. This method is free indefinitely but requires intermediate Linux skills and monitoring to prevent abuse or resource exhaustion.
Free Managed Platforms: Aternos and Minehut
Aternos (aternos.org) and Minehut (minehut.com) simplify server creation with web dashboards. Register an account, click “Create Server,” choose Minecraft version and optional plugins/mods from a curated list, and start the server. Aternos supports Forge, Fabric, and Paper with modpacks from CurseForge; Minehut focuses on plugins and has a built-in Skript scripting engine. Both auto-stop servers after 5–10 minutes of inactivity and display ads during join. Aternos queues server start requests during peak hours, causing delays. Minehut enforces a 10-player cap on free plans (upgradable to 20 with daily login rewards).
Performance on free platforms is inconsistent. Shared infrastructure means CPU throttling during high demand, leading to tick lag and stuttering. Modpacks like RLCraft or SkyFactory struggle to maintain 20 TPS (ticks per second). World backups are manual or limited in frequency; accidental deletions or corruption may result in data loss. If your project grows beyond a handful of players or requires reliable uptime, investing a few dollars monthly in a dedicated host pays dividends. Nexus Games’ entry-level Minecraft hosting starts at $4.91/month with NVMe SSD storage, one-click CurseForge modpack deployment, and RAM scalable to 128 GB—features unattainable on free tiers.
Feature Comparison Table
| Feature | Free Managed (Aternos/Minehut) | Self-Hosted Cloud (Oracle/AWS) | Budget Managed (Nexus Games) |
| Player Slots | 2–10 | Unlimited (bandwidth-dependent) | Unlimited (plan-dependent) |
| Uptime Guarantee | Auto-stop on inactivity | Manual maintenance required | 99.9% SLA |
| Mod/Plugin Support | Limited library | Full control (manual install) | CurseForge one-click installs |
| Support | Community forums only | None (DIY troubleshooting) | 24/7 live support |
| DDoS Protection | None | Basic (cloud firewall) | Game-grade anti-DDoS |
Optimizing Performance and When to Upgrade
Regardless of how you choose to host Minecraft server for free, performance tuning is critical. Edit server.properties to reduce view-distance from 10 to 6–8 chunks, lowering server-side rendering load. Disable spawn-animals and spawn-monsters if running creative-only builds. Install optimization plugins like Paper (a high-performance fork of Spigot) or Fabric with mods such as Lithium, Phosphor, and Starlight to improve tick rates and chunk generation speed. Pregen your world using Chunky or WorldBorder to eliminate lag spikes when players explore new terrain.
Monitor server TPS and RAM usage with plugins like Spark or Timings reports (/timings on then /timings paste). If TPS drops below 18–19 consistently, you’re resource-constrained. Free hosts cap CPU cycles and RAM, making optimization only a temporary fix. Modded servers with 100+ mods demand 4–6 GB RAM minimum; free tiers rarely provide that. Similarly, if you host more than five concurrent players, network latency and bandwidth become bottlenecks on home connections or shared cloud instances.
Signs You Need Managed Hosting
- Persistent TPS below 18 despite optimization
- Frequent player disconnects or timeout errors
- Inability to install desired modpacks due to RAM limits
- Need for 24/7 uptime without manual restarts
- Desire for automatic backups and DDoS protection
Transitioning to a professional host doesn’t mean breaking the bank. For less than the cost of a monthly coffee subscription, you gain dedicated resources (AMD Ryzen 9 7950X3D with up to 5.7 GHz boost on Nexus Games), DDR5 ECC RAM for stability under load, NVMe SSDs for near-instant chunk loading, and a control panel that handles backups, mod installations, and server version switches with single clicks. The time saved troubleshooting outages and the improved player experience justify the modest investment—especially when uptime and community growth matter.

Hosting a Minecraft server for free is entirely possible through self-hosting at home, leveraging cloud free tiers, or using platforms like Aternos and Minehut. Each method suits different skill levels and use cases—home hosting offers full control at the cost of security and uptime risks, cloud free tiers provide scalable resources but require Linux expertise, and managed free platforms simplify setup while imposing strict player and performance limits. For small-scale testing or casual play with a handful of friends, free solutions work. However, as your server grows in complexity, player count, or mod requirements, the limitations become apparent. Investing a few dollars monthly in a dedicated managed host like Nexus Games delivers superior hardware (AMD Ryzen 9 7950X3D, DDR5 ECC RAM, NVMe SSD), one-click CurseForge modpack installation, 24/7 support, and DDoS protection—transforming your Minecraft experience from frustrating to seamless.
FAQ
Can I run modpacks like All the Mods or RLCraft on a free Minecraft server?
Free hosting platforms such as Aternos or Minehut support some modpacks but impose strict RAM limits (1–2 GB), which is insufficient for heavy modpacks like All the Mods or RLCraft. Self-hosting on a home PC or cloud free tier gives you control over RAM allocation, but you’ll need at least 4–6 GB dedicated to the server. For reliable modded performance, a managed host with scalable RAM and NVMe storage ensures smooth gameplay without tick lag.
How do I secure my home IP when hosting a Minecraft server for free?
Use a dynamic DNS service (e.g., No-IP, DuckDNS) to provide a stable hostname instead of sharing your raw public IP. Configure your router’s firewall to only allow traffic on port 25565 and consider running the server behind a VPN or proxy like Cloudflare Spectrum. Never run the server process with administrator privileges, keep Java updated, and use whitelisting in server.properties to restrict access. For complete security without networking complexity, managed hosts isolate your server and include anti-DDoS protection.
What are the bandwidth requirements to host Minecraft server for free at home?
Each concurrent player consumes approximately 5 Mbps of upload bandwidth for smooth gameplay. A typical home broadband plan with 10–20 Mbps upload can support 2–4 players comfortably. Beyond that, you’ll experience latency spikes and disconnections. Check your upload speed with tools like Speedtest.net before committing. If your connection is insufficient, cloud free tiers or managed hosting with gigabit network links ensure stable performance regardless of your home ISP limitations.