Learning how to adapt Minecraft mods for server environments is essential for any server administrator looking to deliver a unique, stable multiplayer experience in 2025. While thousands of client-side mods exist, not all are compatible with server architectures, and improper adaptation can lead to crashes, performance bottlenecks, or security vulnerabilities. This comprehensive guide walks you through identifying server-compatible mods, configuring them properly, and optimizing performance on modern hardware like the AMD Ryzen 9 7950X3D with DDR5 ECC RAM—the foundation of professional Minecraft hosting at Nexus Games.
Understanding Server-Side vs. Client-Side Mods
Before you can adapt Minecraft mods for server use, you must distinguish between client-side and server-side modifications. Client-side mods alter the player’s local experience—shader packs, minimap overlays, or UI enhancements—and do not require server installation. Server-side mods, conversely, modify game logic, world generation, mob behavior, or permissions and must be installed on the server instance to function correctly.
Identifying Mod Types
Most modern mods declare their compatibility in the mods.toml (Forge) or fabric.mod.json (Fabric) metadata files. Look for the side field:
"side": "server"   # Server-only
"side": "client"   # Client-only
"side": "both"     # Universal
Universal mods marked both are ideal for multiplayer, as they synchronize behavior between client and server. Popular examples include Biomes O’ Plenty, Just Enough Items (JEI), and Create. Client-only mods like OptiFine or Xaero’s Minimap should never be uploaded to the server, as they’ll trigger loading errors or be ignored.
Dependency Resolution
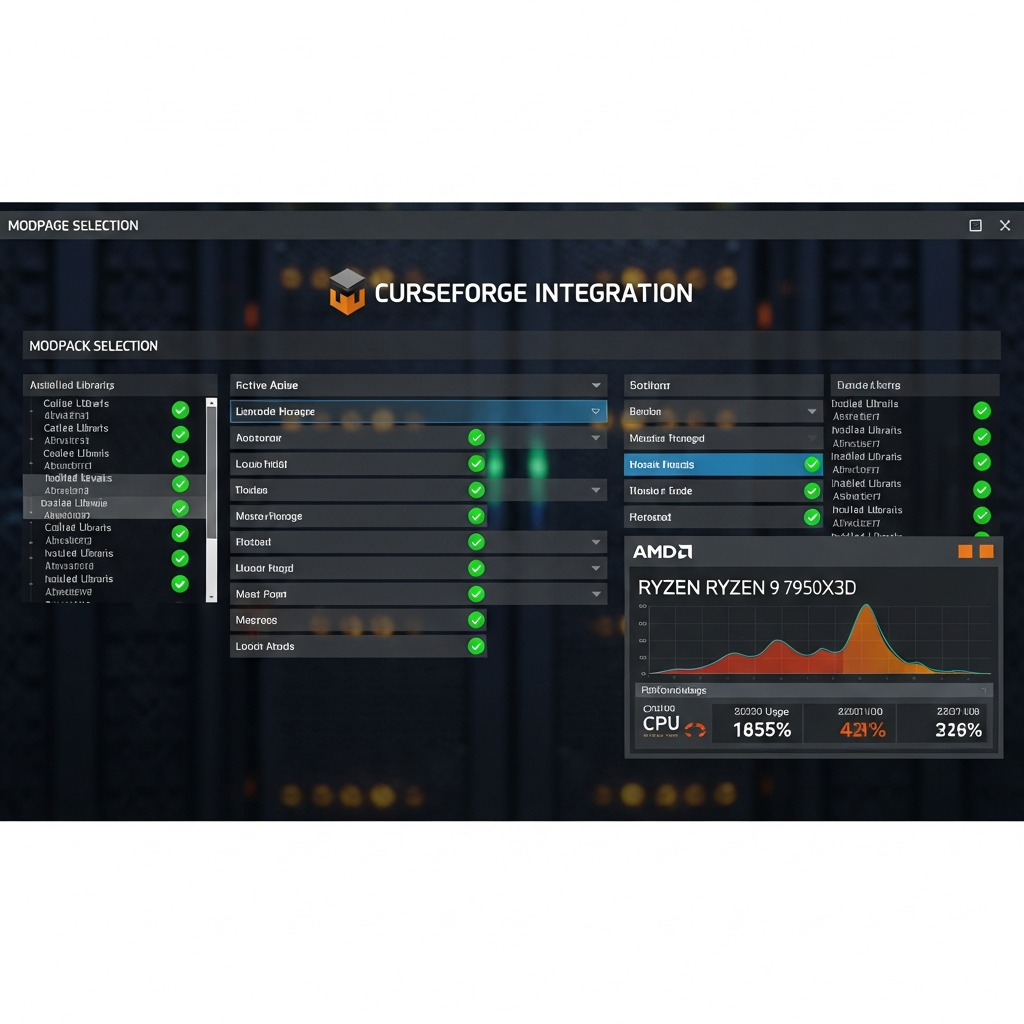
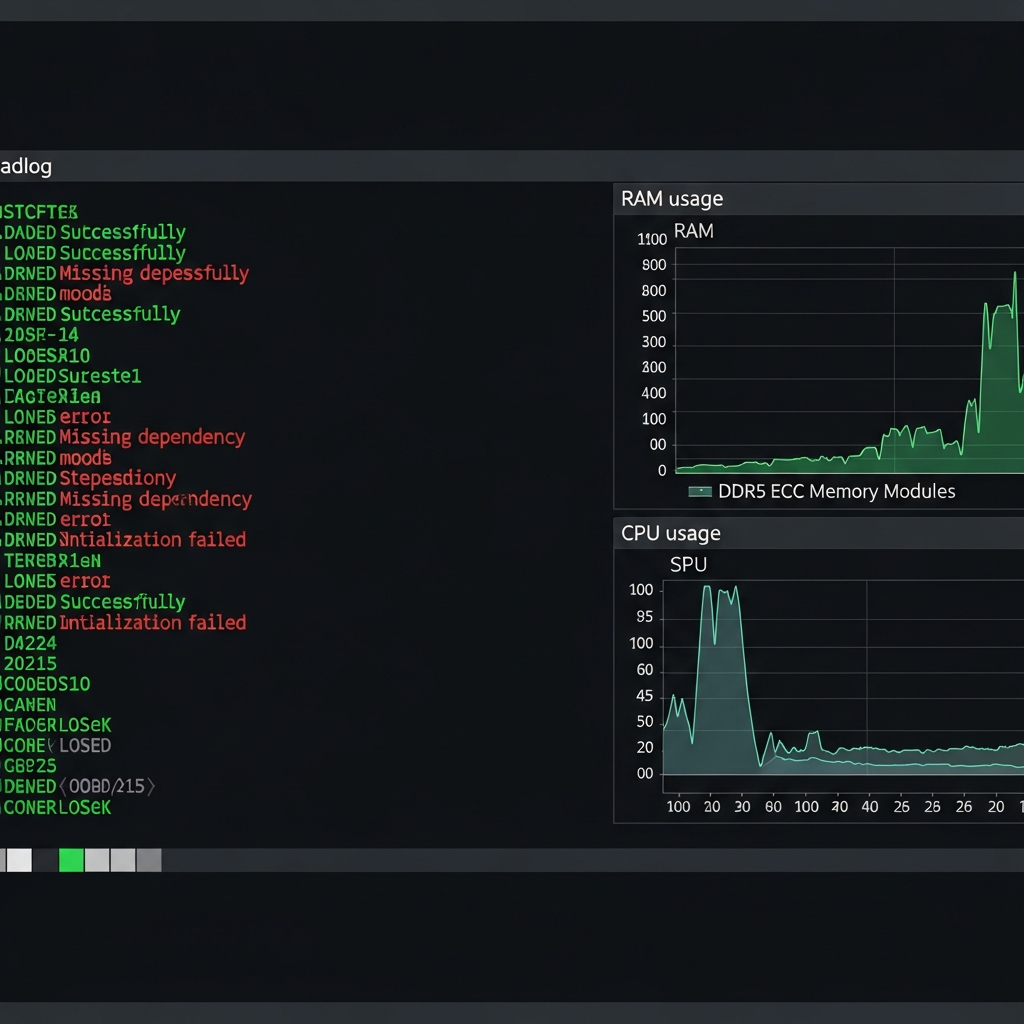
Many mods require libraries or APIs—Fabric API, Forge, or specialized loaders like Quilt. Before adapting a mod, verify its dependencies on platforms like CurseForge or Modrinth. Missing dependencies are the leading cause of “incompatible mod set” crashes. Nexus Games’ control panel simplifies this by offering one-click installation of popular modpacks like SkyFactory, All the Mods, or FTB Academy, which pre-bundle all required libraries.
Configuring Mods for Multiplayer Environments
Once you’ve confirmed server compatibility, proper configuration ensures stability and fairness. Most mods ship with default settings optimized for single-player or small-scale testing, not production servers hosting 50+ concurrent players on hardware like the Ryzen 9 7950X3D’s 16 cores and 32 threads.
Editing Configuration Files
Mod configs reside in the config/ directory of your server root. Key parameters to adjust include:
- Spawn rates: Reduce mob spawn multipliers in mods like Twilight Forest or Ice and Fire to prevent server lag.
- Chunk loading: Limit forced chunk loaders (e.g., ChickenChunks) to avoid memory bloat on DDR5 ECC RAM allocations.
- Permission nodes: Integrate mods with LuckPerms or PermissionsEx to control access to overpowered items or commands.
- World generation: Disable client-side visual features in biome mods that don’t affect gameplay.
Example: To throttle Create mod’s rotational energy calculations, edit create-server.toml:
[worldGen]
  maxRotationSpeed = 128
  stressCapacityMultiplier = 0.75
Synchronization and Version Matching
Clients must run identical mod versions to join your server. Publish a modpack via CurseForge or Technic Platform, or provide a ZIP archive with explicit version numbers. Mismatched versions—even minor builds—cause “Mod rejections” errors. Automated launchers like ATLauncher or GDLauncher simplify player onboarding by auto-downloading server-approved mods.
Testing in Staging
Always test new mods on a staging server before deploying to production. Nexus Games offers KVM-virtualized VPS instances perfect for isolated testing, allowing you to replicate your production environment (same NVMe SSD storage, same network stack) without risking live player data.
Performance Optimization for Modded Servers
Heavy modpacks like FTB Infinity or RLCraft demand significant resources. Optimizing how you adapt Minecraft mods for server workloads prevents TPS drops and ensures smooth gameplay even during peak hours.
Allocating Server Resources
Start with appropriate RAM allocation. A vanilla server needs 2–4 GB; modded servers require 8–16 GB minimum. On Nexus Games’ DDR5 ECC infrastructure, allocate memory via JVM flags:
java -Xms8G -Xmx12G -XX:+UseG1GC -XX:MaxGCPauseMillis=50 -jar forge.jar nogui-Xms/-Xmx: Initial and maximum heap size.-XX:+UseG1GC: Garbage collector optimized for low-latency pauses.-XX:MaxGCPauseMillis: Target pause time for GC cycles.
Reducing Tick Lag
Install performance mods like:
- Lithium (Fabric): Optimizes game physics and AI pathfinding.
- Starlight: Rewrites lighting engine for 10× faster chunk generation.
- FerriteCore: Reduces memory usage by up to 30%.
- Chunky (pre-generation): Pre-renders world chunks to eliminate lag spikes during exploration.
Combine these with entity limiters (e.g., LagGoggles) to identify and cull excessive tile entities. On a Ryzen 9 7950X3D at 5.7 GHz boost clocks, you can maintain 20 TPS (ticks per second) even with 200+ mods active.
Network and Storage Considerations
Modded servers generate larger save files due to additional block types and metadata. NVMe SSD storage—standard on Nexus Games servers—delivers sub-5ms read/write latency, critical for chunk I/O. Pair this with 1 Gbps anti-DDoS protected networking to handle mod download traffic and player connections without packet loss.
Plugin Integration
Hybrid servers running Forge+Paper (via Mohist or Magma) allow Bukkit/Spigot plugins alongside mods. Use plugins like ClearLagg or CraftBook to automate maintenance tasks, but beware compatibility conflicts—always consult mod changelogs.
Security and Update Management
Improperly vetted mods pose security risks. Malicious actors have distributed modified JARs containing backdoors or cryptocurrency miners. Always download from trusted sources—CurseForge, Modrinth, or official GitHub repositories—and verify file hashes.
Sandboxing and Permissions
Run your server under a non-root user with restricted file permissions. On Linux VPS instances (available at Nexus Games from $8.26/month), configure:
sudo useradd -m -s /bin/bash minecraft
sudo chown -R minecraft:minecraft /opt/minecraft-server
This isolates the server process, limiting damage from potential exploits. For Windows VPS environments, leverage User Account Control (UAC) and firewall rules to block unauthorized outbound connections.
Automated Updates
Mod updates fix bugs and patch vulnerabilities but can break compatibility. Use version control (Git) or automated backup solutions to snapshot your server before applying updates. Nexus Games’ panel integrates scheduled backups with one-click rollback, ensuring zero downtime even if an update fails.
Community Feedback Loops
Engage your player base via Discord or forums to report mod conflicts early. Tools like Spark (profiler) generate shareable reports pinpointing lag sources, enabling data-driven optimization.
Conclusion: Mastering how to adapt Minecraft mods for server deployment transforms a basic multiplayer world into a thriving, customized community. By selecting compatible mods, configuring them for scalability, and leveraging high-performance hardware like Nexus Games’ AMD Ryzen 9 7950X3D infrastructure, you ensure stability, security, and player satisfaction. Start testing your modpack today on our optimized Minecraft hosting platform.
FAQ
Can I run client-side mods like OptiFine on my server?
No. Client-side mods modify only the player’s local rendering or UI and have no server-side logic. Installing them on the server will either cause errors or be ignored. Players can use OptiFine locally while connecting to your server without issues.
How do I resolve “Mod rejections” errors when players join?
This occurs when client and server mod versions mismatch. Ensure all players download the exact modpack version you’re running. Use a launcher like CurseForge or publish a manifest file listing required mods and versions. Nexus Games’ panel allows you to export modpack configs for easy distribution.
What’s the minimum RAM needed for a 100-player modded server?
For heavy modpacks (200+ mods), allocate at least 12–16 GB RAM. Lightweight packs may run on 8 GB. Nexus Games’ DDR5 ECC RAM configurations scale from 32 to 128 GB, supporting even the most demanding modded environments with headroom for plugins and world pre-generation.