Learning how to configure ARK dedicated server settings in 2025 is essential for any administrator seeking full control over gameplay, performance, and community experience. Whether you’re launching your first survival sandbox or fine-tuning an established cluster, mastering server configuration files, command-line parameters, and in-game settings will unlock ARK’s full potential. This guide walks you through every step—from initial installation to advanced tweaks—using proven methods that scale from small private servers to large public networks.
Understanding ARK Server Architecture and Configuration Files
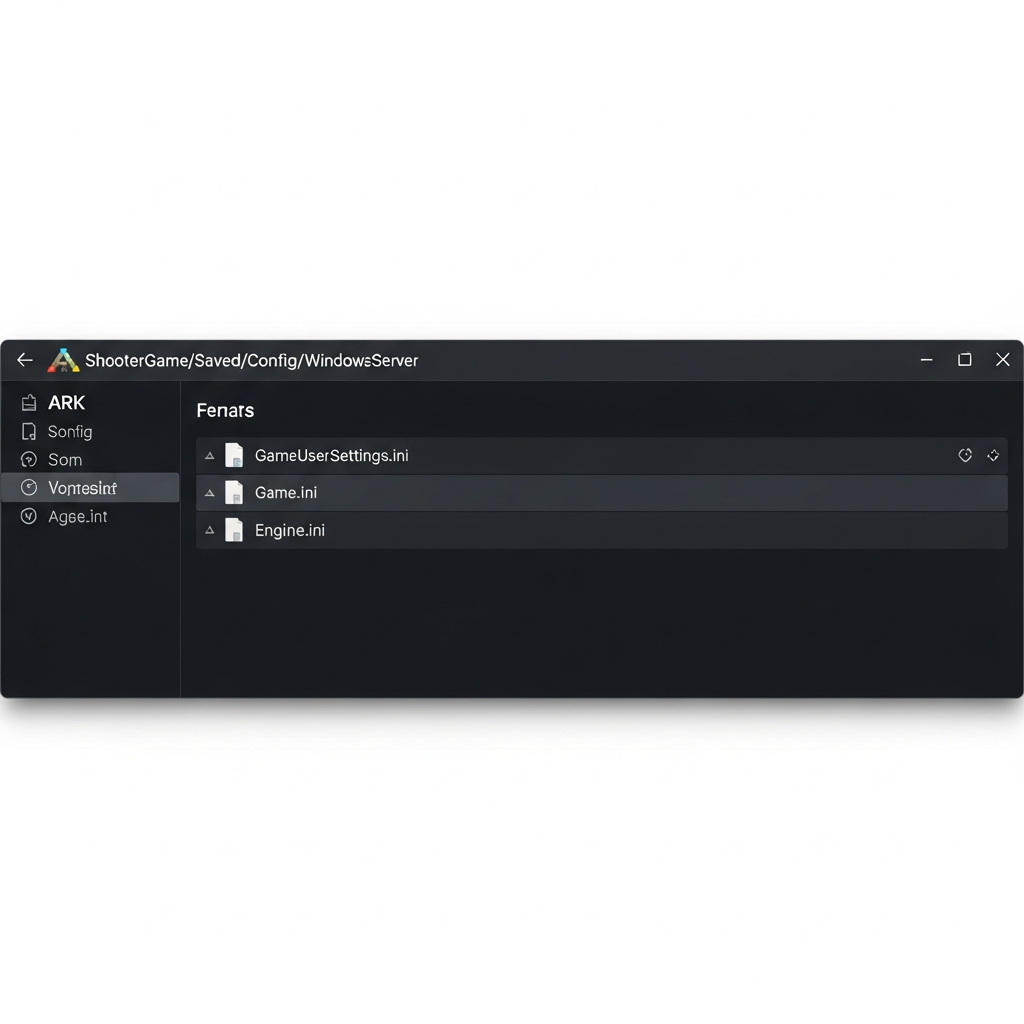
Before you configure ARK dedicated server parameters, it’s crucial to understand the file hierarchy and how ARK reads settings. The game relies on three primary configuration files located in /ShooterGame/Saved/Config/WindowsServer/ (or LinuxServer for Linux hosts):
- GameUserSettings.ini — Controls session settings, rates, difficulty, and player permissions.
- Game.ini — Defines item stacks, engram unlocks, and deep gameplay overrides.
- Engine.ini — Manages network, rendering, and low-level engine parameters.
Each file follows the standard INI format with sections like [ServerSettings] and [/Script/ShooterGame.ShooterGameMode]. When you launch the server, ARK parses these files in order, applying defaults first, then overriding them with any command-line flags you pass via the startup script.
Typical Directory Structure
ARKServer/
├── ShooterGame/
│   ├── Binaries/
│   ├── Content/
│   ├── Saved/
│   │   └── Config/
│   │       └── WindowsServer/
│   │           ├── GameUserSettings.ini
│   │           ├── Game.ini
│   │           └── Engine.ini
│   └── ...
└── ShooterGameServer.exe
If you’re hosting on a dedicated ARK server with Nexus Games, you benefit from an intuitive control panel that auto-generates and validates these files, eliminating common syntax errors. Behind the scenes, our AMD Ryzen 9 7950X3D infrastructure ensures sub-millisecond disk I/O on NVMe SSD arrays, so configuration reloads and map loads remain lightning-fast even under heavy mod loads.
Essential GameUserSettings.ini Parameters to Configure ARK Dedicated Server
The GameUserSettings.ini file is the heart of your server’s identity and ruleset. Below are the most impactful sections you’ll configure:
[ServerSettings] Section
This is where you define session name, passwords, rates, and administrative options:
[ServerSettings]
SessionName=MyARK Server 2025
ServerPassword=YourPassword123
ServerAdminPassword=SuperSecureAdmin!
MaxPlayers=70
DifficultyOffset=1.0
OverrideOfficialDifficulty=5.0
XPMultiplier=2.0
TamingSpeedMultiplier=3.0
HarvestAmountMultiplier=2.5
ResourcesRespawnPeriodMultiplier=0.5
ShowMapPlayerLocation=True
AllowThirdPersonPlayer=True
ServerCrosshair=True
ServerPVE=False
RCONEnabled=True
RCONPort=27020
- SessionName — Appears in the in-game browser; keep it unique and descriptive.
- DifficultyOffset — Scales wild dino levels; 1.0 yields level 30 max on official (5.0 for level 150).
- OverrideOfficialDifficulty — Directly sets max wild level (OverrideOfficialDifficulty=5.0 → 150).
- XPMultiplier / TamingSpeedMultiplier / HarvestAmountMultiplier — Classic rate multipliers; 1.0 is official.
- RCONEnabled + RCONPort — Enables remote console for real-time commands without login.
Player and Dino Stat Multipliers
Fine-tune leveling curves by editing stat arrays. For example, to boost player health gains per level:
PerLevelStatsMultiplier_Player[0]=2.0
PerLevelStatsMultiplier_DinoTamed[0]=1.5
The array indices correspond to stats: 0=Health, 1=Stamina, 2=Oxygen, 3=Food, 4=Weight, 7=Melee, 8=Speed. Experiment cautiously; overpowered stats can trivialize PvE or break PvP balance.
Breeding and Mating Settings
MatingIntervalMultiplier=0.25
EggHatchSpeedMultiplier=10.0
BabyMatureSpeedMultiplier=20.0
BabyImprintingStatScaleMultiplier=2.0
BabyCuddleIntervalMultiplier=0.1
These parameters drastically reduce breeding wait times, ideal for high-rate servers or testing. A BabyMatureSpeedMultiplier=20.0 matures a Giganotosaurus in hours instead of days, perfect for active communities on modded clusters.
When you configure ARK dedicated server rates, always document your choices in a pinned Discord channel or server rules page. Players appreciate transparency, and you’ll save hours answering repetitive questions about harvest or taming speeds.

Advanced Game.ini Tweaks for Deep Gameplay Customization
The Game.ini file unlocks granular control over loot tables, engram costs, stack sizes, and dino spawn weights. Unlike GameUserSettings.ini, Game.ini requires precise syntax—one typo can prevent the server from loading.
Increasing Item Stack Sizes
By default, most resources stack to 100. To configure ARK dedicated server stack sizes, add entries under [/Script/ShooterGame.ShooterGameMode]:
[/Script/ShooterGame.ShooterGameMode]
ConfigOverrideItemMaxQuantity=(ItemClassString="PrimalItemResource_Stone_C",Quantity=(MaxItemQuantity=1000,bIgnoreMultiplier=true))
ConfigOverrideItemMaxQuantity=(ItemClassString="PrimalItemResource_Wood_C",Quantity=(MaxItemQuantity=1000,bIgnoreMultiplier=true))
ConfigOverrideItemMaxQuantity=(ItemClassString="PrimalItemResource_Thatch_C",Quantity=(MaxItemQuantity=1000,bIgnoreMultiplier=true))
Find class strings in the ARK Wiki Item IDs reference. Stack overrides reduce inventory clutter and improve quality-of-life, especially on PvE or modded servers with custom recipes.
Customizing Engram Unlocks and Costs
You can auto-unlock specific engrams at certain levels or modify their point cost:
OverrideNamedEngramEntries=(EngramClassName="EngramEntry_MetalWall_C",EngramHidden=false,EngramPointsCost=0,EngramLevelRequirement=1,RemoveEngramPreReq=true)
This example makes metal walls available at level 1 with zero cost, bypassing prerequisites. Use sparingly to maintain progression balance or freely on creative/build servers.
Adjusting Loot Crate Quality and Quantity
ConfigOverrideSupplyCrateItems=(SupplyCrateClassString="SupplyCrate_Level03_C",MinItemSets=1,MaxItemSets=3,NumItemSetsPower=1.0,bAppendItemSets=true,ItemSets=(...))
Loot-crate configuration is verbose but powerful. Entire communities dedicate guides to balancing drop quality; start with small tweaks (e.g., doubling blueprint quality ranges) before overhauling loot tables entirely.
Dino Spawn Weight and Replacement
Increase or decrease spawn rates for specific creatures:
DinoSpawnWeightMultipliers=(DinoNameTag="Rex",SpawnWeightMultiplier=2.0,OverrideSpawnLimitPercentage=true,SpawnLimitPercentage=0.5)
Higher SpawnWeightMultiplier makes Rexes more common; SpawnLimitPercentage=0.5 caps them at 50% of total carnivores. Balancing spawns is an iterative process—monitor wild dino counts with admin commands like cheat DestroyWildDinos after each tweak.
Hosting on Nexus Games’ DDR5 ECC RAM platform ensures your server handles complex spawn calculations without stuttering. Our Game Anti-DDoS also filters malicious traffic that might exploit spawn mechanics for lag attacks.
Command-Line Arguments and Startup Scripts
Even with perfectly tuned INI files, command-line flags define how ARK initializes. A typical Windows batch script to configure ARK dedicated server launch looks like:
start ShooterGameServer.exe "TheIsland?listen?SessionName=MyServer?Port=7777?QueryPort=27015?MaxPlayers=70?ServerPassword=pass123?ServerAdminPassword=adminpass" -server -log -NoBattlEye -crossplay
Essential Flags Explained
- TheIsland — Map name; replace with
ScorchedEarth_P,Aberration_P,Genesis, etc. - ?listen — Required for dedicated mode.
- ?Port=7777 — Game port (TCP/UDP).
- ?QueryPort=27015 — Steam query port (UDP).
- -NoBattlEye — Disables BattlEye; useful for modded/custom servers (check your provider’s policy).
- -crossplay — Enables Epic/Steam crossplay on compatible versions.
- -automanagedmods — Auto-downloads and updates Workshop mods on startup.
- -clusterid=MyCluster — Links multiple servers for cross-ARK transfers.
Example Multi-Map Cluster Script
start ShooterGameServer.exe "TheIsland?listen" -server -log -clusterid=NexusCluster -ClusterDirOverride="C:\ARKCluster"
start ShooterGameServer.exe "Ragnarok?listen?Port=7779?QueryPort=27017" -server -log -clusterid=NexusCluster -ClusterDirOverride="C:\ARKCluster"
Each instance writes player/dino upload data to the shared ClusterDirOverride folder. Players can travel between maps via obelisks, preserving inventory and tames—a hallmark of thriving ARK communities.
If you prefer a hands-off approach, Nexus Games’ control panel auto-generates startup scripts and cluster configs. Our 16-core / 32-thread Ryzen 9 7950X3D CPUs effortlessly run multiple ARK instances in parallel, each with dedicated resources thanks to KVM-based isolation on our VPS offerings.
Optimizing Performance: Engine.ini and Network Tuning
To configure ARK dedicated server performance, the Engine.ini file and network parameters are your allies. ARK is notoriously CPU-bound; smart tuning can double effective player capacity.
Key Engine.ini Entries
[/Script/Engine.GameSession]
MaxPlayers=70

[/Script/OnlineSubsystemUtils.IpNetDriver]
NetServerMaxTickRate=30
LanServerMaxTickRate=60
MaxClientRate=50000
MaxInternetClientRate=50000

[/Script/ShooterGame.ShooterGameUserSettings]
bUseVSync=False
- NetServerMaxTickRate — Server simulation rate (Hz); 30 is safe for 50+ players; 60 requires beefy CPU.
- MaxClientRate / MaxInternetClientRate — Client bandwidth cap (bytes/sec); 50000 = ~400 Kbps, preventing bandwidth bottlenecks.
- bUseVSync=False — Disables vertical sync, reducing input lag on client side (server-side irrelevant but harmless).
Reducing Stutter with Thread Tweaks
[Core.System]
UseAllAvailableCores=True
While ARK’s main thread remains single-core bound, enabling UseAllAvailableCores distributes physics and AI to secondary threads. On a Ryzen 9 7950X3D’s 32 threads, this yields measurable frame-time improvements during large-scale dino battles or base raids.
Network Optimization and Anti-DDoS Considerations
Configure firewall rules to allow ARK’s ports (default 7777 UDP/TCP, 27015 UDP). On Linux, use iptables or ufw:
ufw allow 7777/tcp
ufw allow 7777/udp
ufw allow 27015/udp
For public servers, DDoS mitigation is non-negotiable. Nexus Games deploys Game Anti-DDoS filtering at the network edge, scrubbing amplification attacks before they saturate your 1 Gbps uplink. This keeps ping stable even when attackers target your IP—a common issue for popular ARK clusters.
Monitoring and Profiling
Enable detailed logging by adding -log to your startup script. Parse ShooterGame/Saved/Logs/ShooterGame.log for warnings about tick-rate drops, memory leaks, or mod conflicts. Tools like RCON clients (e.g., ARK Server Manager) provide real-time CPU/RAM graphs, helping you correlate lag spikes with in-game events.
If you’re running multiple maps or heavy mod lists, consider a Windows VPS with 64–128 GB DDR5 ECC RAM. Our KVM virtualization guarantees your allocated RAM is never overcommitted, unlike shared environments where “burstable” often means “throttled.”
Mod Management: CurseForge and Workshop Integration
Mods transform ARK from a survival game into limitless themed experiences—medieval fantasy, sci-fi colonies, Pokémon-style catching, and more. To configure ARK dedicated server mods efficiently, leverage Steam Workshop IDs and the -automanagedmods flag.
Adding Mods via Command Line
start ShooterGameServer.exe "TheIsland?listen?GameModIds=731604991,821530042" -server -log -automanagedmods
Comma-separated Workshop IDs under GameModIds tell ARK to download and load those mods. The -automanagedmods flag keeps them updated on every restart, eliminating manual SteamCMD hassles.
Mod Load Order and Compatibility
Order matters: total-conversion mods (e.g., Primitive Plus) must load first, followed by map extensions, then gameplay tweaks. Test combinations on a local server before deploying to production. Nexus Games’ panel includes a drag-and-drop mod sorter with conflict warnings, streamlining this tedious process.
CurseForge Pre-Installable Mods
While Steam Workshop dominates ARK modding, CurseForge integration is gaining traction for newer titles (Minecraft, Hytale). Our infrastructure supports one-click CurseForge mod installation for Hytale servers and similar games, future-proofing your hosting as the modding ecosystem evolves.
Performance Impact and Best Practices
Each mod adds load time, memory overhead, and potential tick-rate penalties. Limit your modlist to 20–30 mods unless you’re on a high-spec VPS. Regularly audit mod subscriptions—defunct mods with unpatched bugs can crash servers or corrupt save files. Always back up SavedArks/ before major mod updates.
Security Hardening and Admin Tools
A public ARK server attracts not only players but also griefers, hackers, and resource exploiters. To configure ARK dedicated server security, layer multiple safeguards.
Strong Admin Passwords and Whitelisting
Set a complex ServerAdminPassword (16+ characters, mixed case, symbols). For ultra-secure environments, enable whitelist mode:
bUseWhitelist=True
Then manually add Steam64 IDs to AllowedCheaterSteamIDs.txt (misnomer; it’s for whitelisting). Only listed players can join—ideal for private or application-based communities.
RCON Security
RCON grants full server control remotely. Bind it to localhost or a VPN-only IP:
RCONEnabled=True
RCONPort=27020
Use firewall rules to block external access, then tunnel RCON over SSH. Example Linux SSH tunnel:
ssh -L 27020:localhost:27020 [email protected]
Connect your RCON client to localhost:27020, and traffic flows encrypted through SSH.
Automated Backups and Rollback Procedures
Configure daily backups of ShooterGame/Saved/SavedArks/ and your config directory. A simple cron job on Linux:
0 3 * * * tar -czf /backups/ark_$(date +\%F).tar.gz /ARKServer/ShooterGame/Saved/
Store backups off-server (cloud storage, NAS) to survive hardware failures. Nexus Games offers integrated snapshot backups on our VPS plans, with one-click restore from the control panel—no SSH required.
Dealing with Exploits and Duplication Bugs
ARK’s codebase has a history of item-duplication exploits. Stay current with official patches, monitor community forums (Reddit /r/playark, Survive The Ark), and enable logging to catch suspicious activity. Commands like cheat SetCheatPlayer True reveal hidden structures; use them during investigations but never leave cheat mode active on a live server.
Conclusion
Mastering how to configure ARK dedicated server environments in 2025 empowers you to craft unique survival experiences—from relaxed PvE paradises to hardcore PvP warzones. By methodically editing GameUserSettings.ini, Game.ini, and Engine.ini, layering command-line arguments, optimizing network settings, managing mods, and hardening security, you’ll run a stable, performant, and engaging server. Leverage professional hosting platforms like Nexus Games to offload infrastructure headaches and focus on community building. With AMD Ryzen 9 7950X3D power, DDR5 ECC reliability, and 24/7 expert support, your ARK cluster will thrive for years to come.
FAQ
How do I change the difficulty to get level 150 wild dinos when I configure ARK dedicated server settings?
Set OverrideOfficialDifficulty=5.0 in the [ServerSettings] section of GameUserSettings.ini. This directly scales max wild levels to 150. Alternatively, use DifficultyOffset=1.0 for level 30 max (official default) and increase proportionally. After editing, restart the server and run cheat DestroyWildDinos to force a fresh spawn cycle at the new difficulty.
What’s the best way to add and manage mods when I configure ARK dedicated server instances?
Use the GameModIds parameter in your startup command line (e.g., ?GameModIds=731604991,821530042) combined with the -automanagedmods flag. This tells ARK to auto-download and update mods from Steam Workshop on each restart. Always test mod load order on a local server first, and back up saves before deploying new mods to production.
How can I reduce lag and improve tick rate after I configure ARK dedicated server parameters?
In Engine.ini, set NetServerMaxTickRate=30 (or 60 if your CPU can handle it) and MaxInternetClientRate=50000 to prevent bandwidth bottlenecks. Enable UseAllAvailableCores=True under [Core.System]. Host on high-performance hardware like Nexus Games’ Ryzen 9 7950X3D with DDR5 ECC RAM and NVMe SSDs. Monitor logs with -log flag to identify mods or settings causing tick-rate drops, then adjust or remove them.