Choosing the right minecraft server mods can transform your multiplayer experience from ordinary to extraordinary, but installing them in the wrong order—or picking incompatible ones—can crash your server before players even log in. In this guide, we’ll walk you through which Minecraft server mods to install first in 2025, why installation order matters, and how modern hosting infrastructure like AMD Ryzen 9 7950X3D processors and DDR5 ECC RAM ensure your modded server runs flawlessly under load.
Why Installation Order Matters for Minecraft Server Mods
When you run a modded Minecraft server, mods load sequentially during startup. Core frameworks and library mods must initialize before content mods that depend on them. Installing a tech mod like Mekanism before its prerequisite library (Forge or Fabric API) will cause a cascade of errors, often resulting in a server that won’t boot. Beyond dependencies, certain mods—especially those that alter world generation or add custom dimensions—should be installed before you generate your world to avoid biome corruption or chunk conflicts.
Modern server hardware plays a crucial role here. With a 16-core / 32-thread AMD Ryzen 9 7950X3D running at up to 5 GHz and NVMe SSD storage, mod initialization completes in seconds rather than minutes, meaning you can rapidly test load orders without frustrating downtime. At Nexus Games, our Minecraft hosting includes one-click modpack installers via CurseForge integration, so popular mod collections arrive pre-sorted with all dependencies resolved.
Core Frameworks vs. Content Mods
Forge and Fabric are the two dominant mod loaders in 2025. Forge remains the choice for heavyweight modpacks (FTB, ATM, RLCraft), while Fabric favors performance-oriented mods and server optimization. Always install your chosen loader first, followed by its API (e.g., Fabric API). Only then should you add library mods like Architectury, Cloth Config, or CodeChicken Lib. These provide shared code that dozens of content mods rely on, from inventory tweaks to custom GUIs.
| Mod Type | Install Priority | Examples |
| Mod Loader | 1 (First) | Forge, Fabric |
| API / Libraries | 2 | Fabric API, CodeChicken Lib, Kotlin for Forge |
| Core Utilities | 3 | JEI, REI, FTB Library |
| World-Gen Mods | 4 (before world creation) | Biomes O’ Plenty, Terralith, YUNG’s Better Structures |
| Content & Tech Mods | 5+ | Mekanism, Create, Industrial Foregoing |

Step-by-Step: Essential Mods to Install First
1. Mod Loader (Forge or Fabric)
Download the correct version for your Minecraft server build. For 1.20.x in 2025, Forge 47.x and Fabric Loader 0.15.x are stable. Install the server JAR, replace your launch script to point to forge-server.jar or fabric-server-launch.jar, and perform a test boot. If your hosting panel supports it—like the Nexus Games panel does for Minecraft—you can select the loader from a dropdown and it will inject the correct startup parameters automatically.
2. Fabric API or Forge Libraries
Drop Fabric API (fabric-api-x.x.x.jar) into your mods/ folder if you’re on Fabric. Forge users rarely need a separate “Forge API” but may require libraries like Kotlin for Forge or Architectury API depending on your modpack. Check each mod’s CurseForge or Modrinth page for explicit dependency lists.
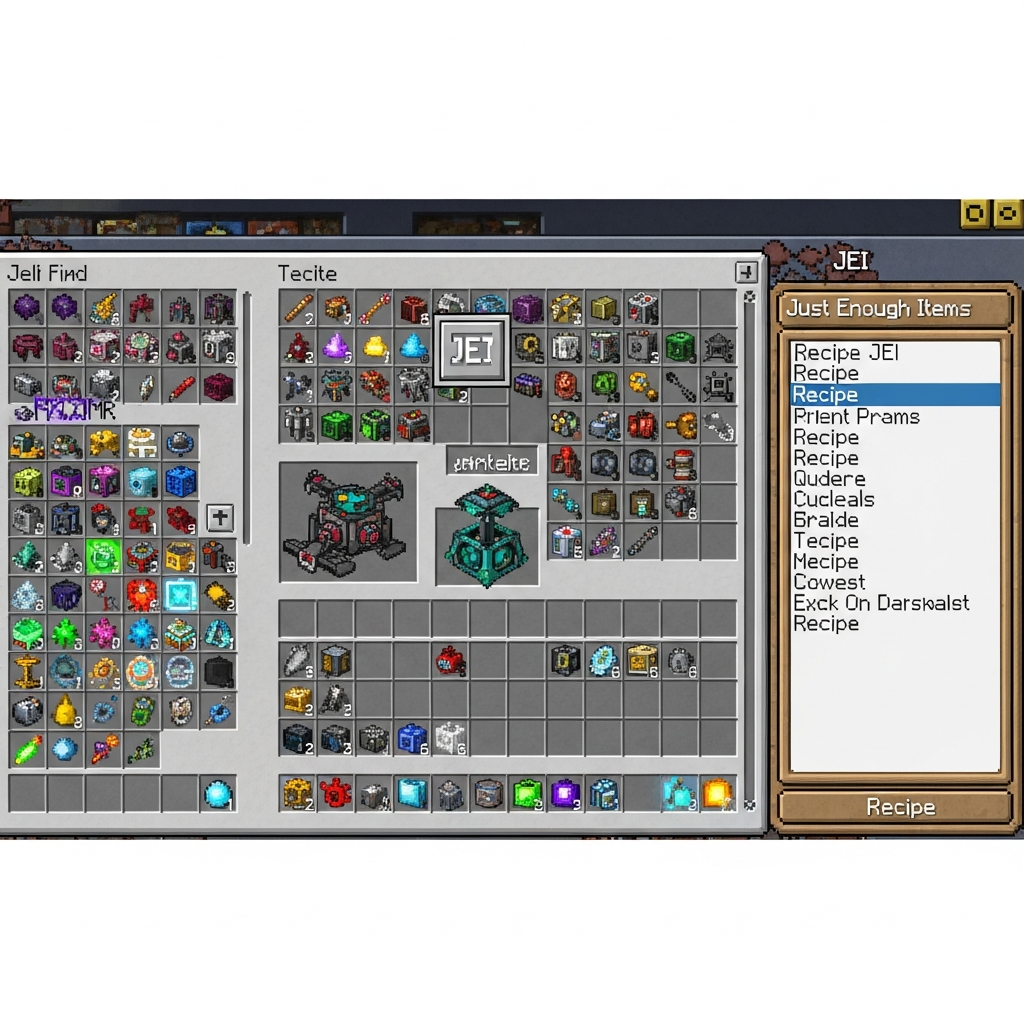
3. Just Enough Items (JEI) / Roughly Enough Items (REI)
Recipe viewers are non-negotiable for modded servers. JEI (Forge) or REI (Fabric/Forge) let players browse crafting recipes without alt-tabbing to wikis. Install them immediately after your API layer; many content mods integrate JEI plugins that load during startup.
4. World-Generation Mods (Pre-World Creation)
Mods like Biomes O’ Plenty, Terralith, YUNG’s Better Dungeons, or William Wythers’ Overhauled Overworld rewrite Minecraft’s world generator. Install these before running /stop and generating your level.dat. If you add them to an existing world, new chunks will use modded biomes but old chunks remain vanilla, creating jarring borders. On high-performance hardware—32–128 GB DDR5 ECC RAM and NVMe SSDs—chunk pre-generation with mods like Chunky completes in a fraction of the time, letting you prepare a 10k×10k world overnight.
5. Performance & Optimization Mods
- Lithium (Fabric): server-side tick optimization, reduces lag spikes.
- Phosphor (Fabric): lighting-engine rewrite, faster chunk loading.
- Spark (Forge/Fabric): profiler for diagnosing lag sources.
- ServerCore (Fabric): dynamic view distance, login optimizations.
These mods have zero dependencies beyond Fabric API or Forge, so install them right after your world-gen suite. Combined with a 1 Gbps network and Game Anti-DDoS protection, your server will handle 50+ concurrent players even with 200+ mods loaded.
6. Content Mods (Mekanism, Create, Applied Energistics 2, etc.)
Finally, add your big tech and adventure mods. Create requires Flywheel (a rendering library). Mekanism bundles generators, tools, and additions in separate JARs; install all three if you want the full experience. Applied Energistics 2 needs no extra dependencies but conflicts with certain inventory mods—check compatibility matrices on CurseForge or consult community wikis like the FTB Wiki.
Common Pitfalls and How to Avoid Them
Conflicting Mod IDs and Duplicate Files
If two mods share the same internal ID or you accidentally upload both a mod and its “lite” variant, the server will reject one or crash. Always read crash-reports/ and latest.log. Look for lines like Duplicate mod ID or Missing dependency. Modern panels, including the one at Nexus Games, offer in-browser log viewers that highlight errors in red, making troubleshooting faster.
Version Mismatches
A mod built for Minecraft 1.20.1 may not work on 1.20.4 even if Forge versions are close. Stick to a single Minecraft version across all mods. Use CurseForge’s “Game Version” filter or Modrinth’s version tags to ensure compatibility. The Nexus Games panel lets you lock your server to a specific Minecraft build, preventing accidental updates that break your modpack.
Ignoring RAM Allocation
Large modpacks demand 6–12 GB of heap. Edit your startup.sh or panel launch arguments to include -Xmx8G -Xms8G for stable allocation. With 32–128 GB DDR5 ECC available on Nexus hosting, you can safely allocate more without competing with OS overhead or risking out-of-memory kills.
Not Testing Incrementally
Add five mods, boot the server, check logs. Add five more, reboot. This isolates the culprit when something breaks. Trying to load 150 mods at once and diagnosing a startup hang is a nightmare. Incremental testing pairs perfectly with sub-second NVMe boot times.
Leveraging Modern Infrastructure for Modded Servers
In 2025, the hardware gap between budget hosts and premium platforms is stark. A Ryzen 9 7950X3D with 96 MB of 3D V-Cache delivers 20–40% better single-thread performance than older Ryzen 5 or Xeon chips, directly translating to higher TPS (ticks per second) under modded load. DDR5 ECC RAM prevents bit flips that can corrupt modded world data, while NVMe SSDs slash chunk I/O wait times from milliseconds to microseconds.
Nexus Games provisions all Minecraft servers on this exact stack, and the benefits are immediate: modpacks that took three minutes to boot on spinning disks now launch in under thirty seconds. Player login times drop from ten seconds to two. When a chunk with a hundred modded tile entities (machines, pipes, storage) loads, the CPU and RAM headroom mean zero lag spikes. Pair that with a 1 Gbps uplink and enterprise-grade DDoS mitigation, and you have a foundation that scales from a 10-player SMP to a 100-player faction server.
One-Click CurseForge Integration
Rather than manually downloading JARs and resolving dependencies, the Nexus panel offers pre-installable modpacks from CurseForge. Select “All the Mods 9,” “RLCraft,” or “FTB Skies” from a dropdown, click Install, and the system downloads, extracts, and configures server files—including correct Forge/Fabric versions and all dependency mods—in under two minutes. You can still drop custom mods into mods/ afterward, but the heavy lifting is automated.
Conclusion: Installing minecraft server mods in the correct order—loader, API, libraries, world-gen, performance, content—prevents crashes and ensures a smooth multiplayer experience. Modern infrastructure like AMD Ryzen 9 7950X3D, DDR5 ECC, and NVMe storage makes boot times negligible and performance rock-solid. Leverage one-click modpack tools and incremental testing to build the ultimate 2025 modded server.
FAQ
Should I install world-generation mods before or after creating my Minecraft world?
Always install world-gen mods (Biomes O’ Plenty, Terralith, YUNG’s structures) before generating your world. Adding them afterward creates biome borders where vanilla chunks meet modded chunks, causing visual glitches and potential crashes when players cross those boundaries.
Can I mix Forge and Fabric mods on the same server?
No. Forge and Fabric are separate mod loaders with incompatible APIs. You must choose one. Some mods release versions for both loaders, so check CurseForge or Modrinth for dual releases if you want a specific feature on your preferred platform.
How much RAM should I allocate for a modpack with 100–200 mods?
Allocate 8–12 GB of heap (-Xmx10G -Xms10G) for most 100–200 mod packs. Monitor your server’s memory graph in the panel; if you see frequent garbage-collection pauses, bump allocation by 2 GB increments. Nexus Games servers offer up to 128 GB DDR5 ECC, so scaling is trivial.