If you want to install mods on a Minecraft server in 2025, you’ll unlock endless gameplay possibilities—from technical automation with industrial mods to adventure expansions with new biomes, mobs, and dimensions. Whether you’re running a vanilla server or a complex modpack, installing mods requires proper server preparation, client-side synchronization, and performance optimization. This guide walks you through every step, from choosing the right server loader (Forge, Fabric, NeoForge) to troubleshooting common issues, ensuring your modded Minecraft server runs smoothly on high-performance infrastructure.
Why Install Mods on a Minecraft Server?
Mods transform Minecraft from a simple sandbox into a deep, customizable experience. Server-side mods enable features like economy systems, custom world generation, and advanced administrative tools, while client-side mods add visual enhancements, quality-of-life improvements, and entirely new gameplay mechanics. When you install mods on a Minecraft server, you create unique environments that keep players engaged for months or years.
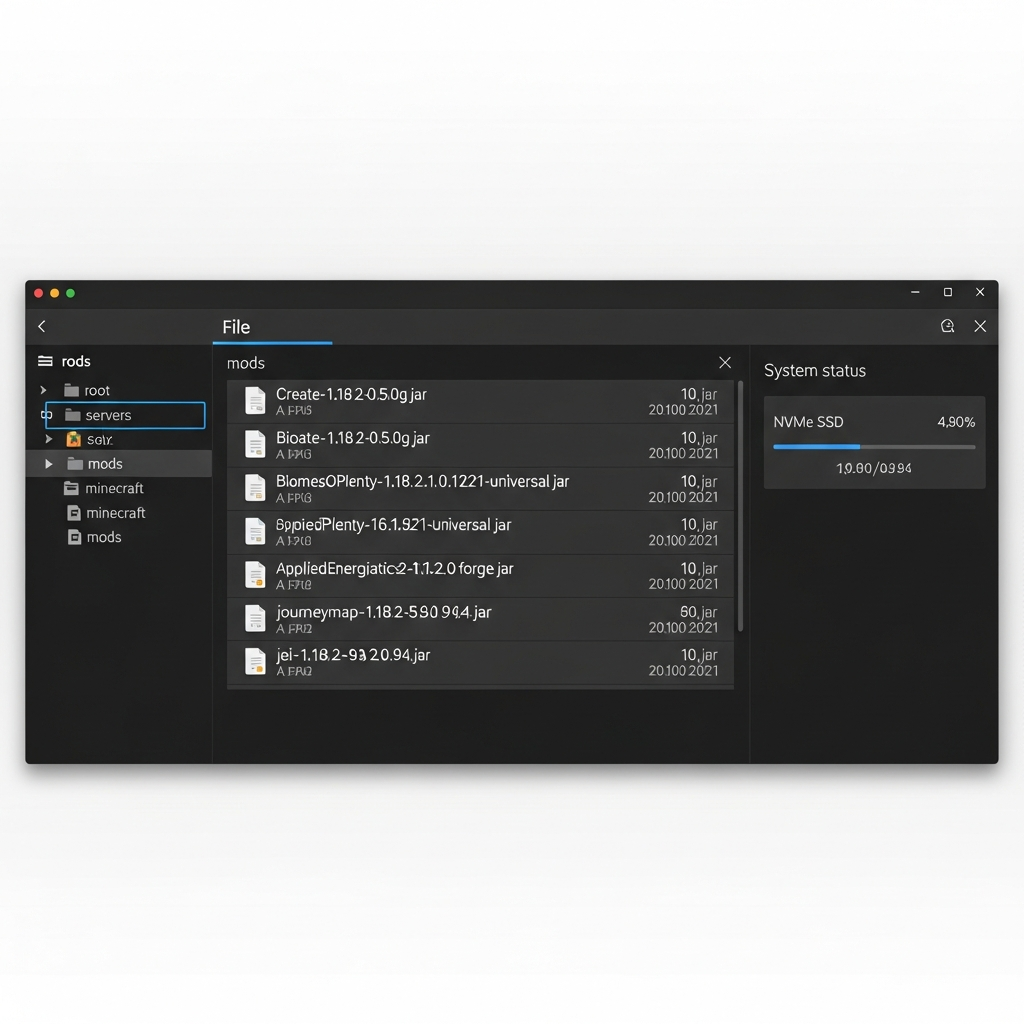
Popular mods like Create, Biomes O’ Plenty, Applied Energistics 2, and Twilight Forest add hundreds of hours of content. For multiplayer servers, mods such as EssentialsX, Vault, and LuckPerms provide essential administrative and permission management. Installing mods also allows integration with external tools like Discord bots, web dashboards, and real-time maps via Dynmap or BlueMap.
Key Benefits of Modded Servers
- Gameplay Expansion: New dimensions, bosses, items, and crafting systems
- Performance Optimization: Mods like Lithium, Starlight, and FerriteCore improve server TPS (ticks per second)
- Community Engagement: Custom events, quests, and economy systems keep players active
- Technical Control: Advanced configuration for chunk loading, mob spawning, and world borders
When selecting a hosting provider, ensure your server runs on modern hardware like the AMD Ryzen 9 7950X3D with DDR5 ECC RAM and NVMe SSD storage. These components guarantee low latency, fast world generation, and stable performance under heavy mod loads. For seamless modpack management, Minecraft server hosting from Nexus Games offers one-click installable modpacks via CurseForge integration directly in the control panel.
Choosing the Right Server Loader: Forge vs. Fabric vs. NeoForge
Before you install mods on a Minecraft server, you must select a mod loader—software that enables mods to run on your server. The three major loaders in 2025 are Forge, Fabric, and NeoForge. Each has unique strengths, compatibility, and performance characteristics.
Forge: The Industry Standard
Forge is the oldest and most widely supported mod loader, with thousands of mods available for versions 1.7.10 through 1.21+. It provides extensive APIs for mod developers, making it ideal for large modpacks like FTB Ultimate, All The Mods, and RLCraft. Forge is stable but can be slower to update after new Minecraft releases.
| Pros | Massive mod library, excellent compatibility, robust API |
| Cons | Higher RAM usage, slower version updates |
| Best For | Large modpacks, established mods, long-term servers |
Fabric: Lightweight and Modern
Fabric is a lightweight, fast mod loader designed for modern Minecraft versions. It updates quickly after official releases and is favored by performance-focused mods like Sodium, Lithium, and Iris Shaders. Fabric mods often have smaller file sizes and lower overhead, making it ideal for survival servers and vanilla-enhanced gameplay.
| Pros | Fast updates, low resource usage, clean codebase |
| Cons | Smaller mod library, less complex mod support |
| Best For | Performance mods, vanilla+, latest Minecraft versions |
NeoForge: The Next Evolution
NeoForge (formerly MinecraftForge 1.20+) is a community-driven fork of Forge, aiming to modernize the codebase while maintaining backward compatibility. It’s gaining traction among mod developers who want Forge’s power with Fabric’s efficiency. NeoForge is recommended for servers planning to migrate from Forge while adopting newer optimization techniques.
| Pros | Forge compatibility, modern optimizations, active development |
| Cons | Still maturing, fewer tutorials available |
| Best For | Forge users transitioning to newer versions, hybrid servers |
To install mods on a Minecraft server effectively, match your loader to your modpack’s requirements. Check CurseForge or Modrinth for mod compatibility before committing. Hosting providers like Nexus Games support all three loaders with pre-configured installation templates, eliminating manual setup.
Step-by-Step: How to Install Mods on a Minecraft Server
Installing mods on a Minecraft server involves downloading the correct loader, uploading mod files, configuring server properties, and synchronizing client-side mods. Follow this detailed process to avoid crashes, version mismatches, and performance bottlenecks.
Step 1: Download and Install Your Chosen Mod Loader
Visit the official website for your chosen loader:
- Forge: files.minecraftforge.net
- Fabric: fabricmc.net/use/server
- NeoForge: neoforged.net
Download the installer corresponding to your Minecraft version (e.g., 1.20.1, 1.21). Run the installer on your local machine or server via SSH. For Forge, execute:
java -jar forge-installer.jar --installServerThis creates a forge-server.jar or fabric-server-launch.jar file in your server directory. Update your startup script to launch this file instead of the vanilla server.jar.
Step 2: Upload Mod Files to the Server
Once the loader is installed, create a /mods folder in your server root directory if it doesn’t exist. Download your desired mods from CurseForge, Modrinth, or official mod websites. Ensure all mods are compatible with your Minecraft version and loader.
Upload .jar mod files into the /mods folder using:
- FTP/SFTP clients: FileZilla, WinSCP
- Control panel file manager: Nexus Games Panel, Pterodactyl, Multicraft
- SSH/SCP:
scp modfile.jar user@server:/path/to/mods/
For large modpacks, consider uploading the entire /mods folder as a ZIP archive and extracting it server-side to save time.
Step 3: Configure Mod Settings and Allocate RAM
Many mods generate configuration files in /config after first launch. Review these files to customize gameplay, disable unwanted features, or optimize performance. Key configuration tips:
- Set chunk loading limits in FTB Chunks or Chunk Loaders
- Disable expensive visual effects server-side (e.g., OptiFine shaders)
- Adjust spawn rates, ore generation, and world settings in dimension mods
Allocate sufficient RAM in your startup script. For modpacks with 50+ mods, use at least 6-8 GB. Example startup command:
java -Xms6G -Xmx8G -jar forge-server.jar noguiEnsure your server runs on hardware with DDR5 ECC RAM to prevent memory errors during intensive mod operations like world generation or large-scale automation.
Step 4: Synchronize Client-Side Mods
Players must install the same mods and loader version on their clients. Distribute a modpack via:
- CurseForge App: Create a custom modpack and share the download link
- Manual ZIP: Package
/modsand/configfolders for players to extract - Technic/ATLauncher: Host a modpack on these platforms for automatic updates
Mismatched mods or versions cause connection errors like “Mod Rejections” or “Missing Registry Entries.” Always test server-client compatibility before public release.
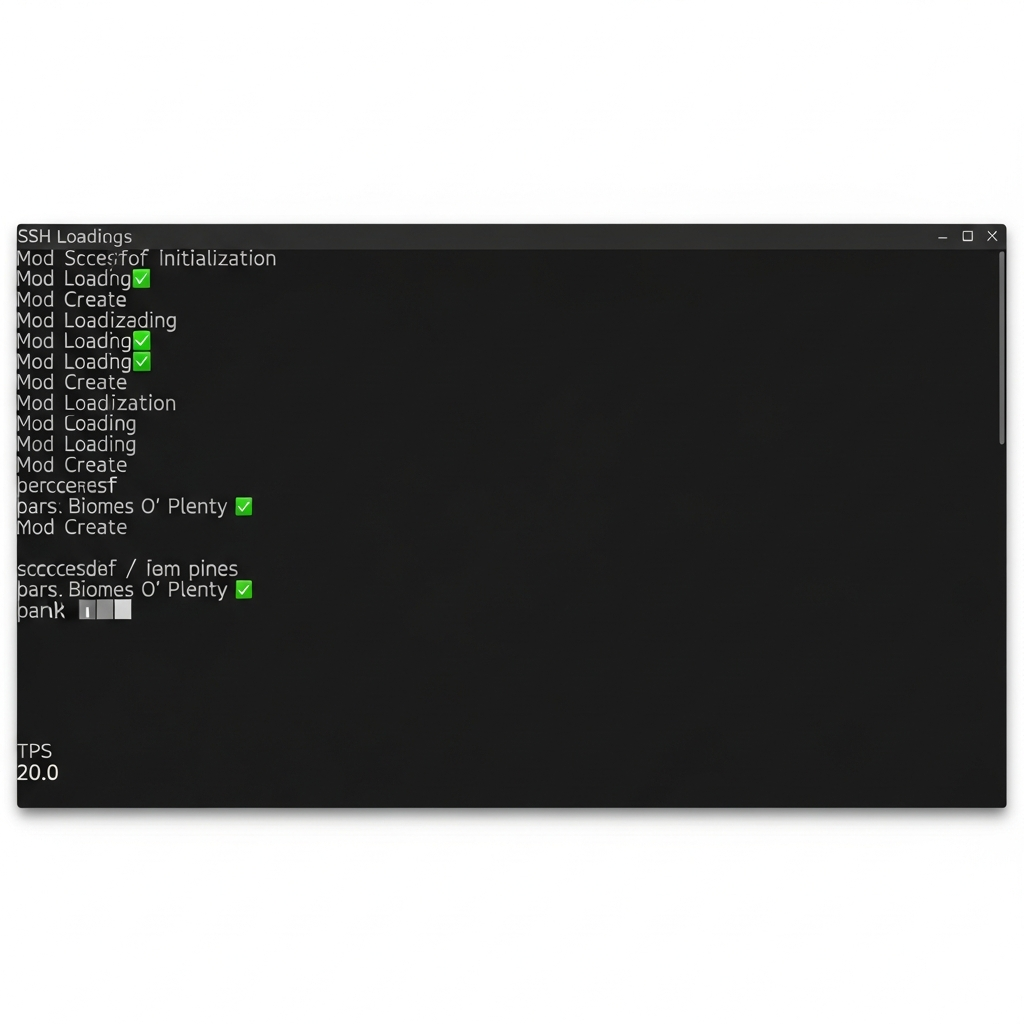
Step 5: Restart and Test Your Server
Restart your server and monitor the console for errors. Common issues include:
- “Missing Dependencies”: Install required library mods (e.g., Geckolib, Cloth Config)
- “Mod Conflicts”: Remove incompatible mods or check for patches
- “OutOfMemoryError”: Increase RAM allocation or optimize mod configurations
Join the server, test core mod features, and verify performance metrics like TPS (should stay above 19-20 for smooth gameplay).
Optimizing Performance for Modded Minecraft Servers
Modded Minecraft servers demand more resources than vanilla, especially with 100+ mods or large player counts. Performance optimization ensures stable TPS, fast chunk loading, and minimal lag spikes. Implement these strategies to maintain a smooth experience.
Install Performance-Enhancing Mods
Several mods significantly improve server performance without altering gameplay:
- Lithium (Fabric): Optimizes game logic, AI, and physics
- Starlight (Fabric/Forge): Rewrites lighting engine for faster chunk generation
- FerriteCore (Forge/Fabric): Reduces RAM usage by optimizing memory allocation
- Clumps (Forge): Merges XP orbs to reduce entity count
- AI Improvements (Forge): Optimizes mob pathfinding and behavior
Combine these mods to reduce server load by 30-50%, especially in heavily automated or mob-dense environments.
Configure JVM Flags for Garbage Collection
Java’s default garbage collector can cause lag spikes. Use modern JVM flags like Aikars flags for better memory management:
java -Xms8G -Xmx8G -XX:+UseG1GC -XX:+ParallelRefProcEnabled -XX:MaxGCPauseMillis=200 -XX:+UnlockExperimentalVMOptions -XX:+DisableExplicitGC -XX:+AlwaysPreTouch -XX:G1NewSizePercent=30 -XX:G1MaxNewSizePercent=40 -XX:G1HeapRegionSize=8M -XX:G1ReservePercent=20 -XX:G1HeapWastePercent=5 -XX:G1MixedGCCountTarget=4 -XX:InitiatingHeapOccupancyPercent=15 -XX:G1MixedGCLiveThresholdPercent=90 -XX:G1RSetUpdatingPauseTimePercent=5 -XX:SurvivorRatio=32 -XX:+PerfDisableSharedMem -XX:MaxTenuringThreshold=1 -Dusing.aikars.flags=https://mcflags.emc.gs -Daikars.new.flags=true -jar forge-server.jar noguiThese flags reduce pause times, stabilize TPS, and improve responsiveness under load.
Limit Chunk Loading and Entity Counts
Configure server.properties and mod-specific settings to prevent excessive resource usage:
- view-distance: Set to 6-8 for modded servers (default is 10)
- simulation-distance: Reduce to 4-6 to limit active chunk calculations
- entity-activation-range: Lower mob activity distance in
spigot.ymlor mod configs
Use plugins like FarmControl or ClearLagg to remove idle entities and optimize farms.
Leverage NVMe SSD Storage
Modded servers generate and load chunks constantly. NVMe SSD storage reduces I/O bottlenecks, cutting world load times by 70% compared to traditional HDDs. Ensure your hosting provider uses enterprise-grade SSDs with high IOPS (input/output operations per second) for maximum responsiveness during world generation or backups.
Monitor and Diagnose Performance
Use tools like Spark, Observable, or LagGoggles to identify lag sources:
- Spark: Generates detailed profiling reports for CPU, memory, and tick usage
- Observable: Tracks TPS, chunk loading, and entity counts in real time
- LagGoggles (Forge): Visualizes lag-causing blocks and entities in-game
Regular profiling helps pinpoint problematic mods, farms, or world regions before they crash your server.
Troubleshooting Common Issues When Installing Mods
Even experienced server administrators encounter problems when installing mods. Here’s how to resolve the most frequent errors quickly.
Issue: “Mod Rejections” or “Mismatched Mods”
This occurs when server and client mod lists differ. Ensure players install the exact same mods and versions. Create a shareable modpack or use a launcher like CurseForge to enforce consistency.
Issue: “Missing Dependencies”
Many mods require library mods (e.g., Geckolib for animations, Cloth Config for settings menus). Check the mod page for required dependencies and install them in /mods.
Issue: Server Crashes on Startup
Review the crash log in /crash-reports. Common causes:
- Incompatible mods: Check version compatibility on CurseForge
- Corrupted files: Re-download and re-upload mod files
- Insufficient RAM: Increase allocation or remove resource-heavy mods
Issue: Low TPS or Lag Spikes
Profile your server with Spark to identify lag sources. Common culprits:
- Overloaded farms or automated systems
- Excessive chunk loaders or force-loaded chunks
- Poorly optimized custom dimensions
Disable or reconfigure problematic mods, and consider upgrading to a server with a Ryzen 9 7950X3D for higher single-thread performance.
Issue: Mods Not Loading
Verify mods are in the correct /mods folder and match your loader (Forge/Fabric). Delete any .disabled extensions and ensure file permissions allow execution.
For persistent issues, consult the mod’s GitHub issues page or official Discord for troubleshooting support.

Conclusion
Learning how to install mods on a Minecraft server transforms your multiplayer experience, enabling custom gameplay, advanced automation, and unique worlds. By selecting the right mod loader—Forge, Fabric, or NeoForge—uploading mods correctly, and optimizing server performance with modern hardware like the AMD Ryzen 9 7950X3D and DDR5 ECC RAM, you’ll build a stable, engaging server. Leverage pre-installed modpacks and one-click management tools to simplify administration and focus on community building.
FAQ
Can I install Forge and Fabric mods on the same server?
No, Forge and Fabric are incompatible mod loaders. You must choose one loader per server. However, some mods have versions for both loaders (e.g., JourneyMap). To run both types of mods, consider using Sinytra Connector (a Forge mod that allows limited Fabric mod compatibility), though this is experimental and may cause instability.
How much RAM do I need for a modded Minecraft server?
RAM requirements depend on mod count and player count. For 50-100 mods with 10-20 players, allocate 6-8 GB. Large modpacks (150+ mods) or servers with 50+ players need 12-16 GB or more. Always use DDR5 ECC RAM for stability and error correction during intensive operations like world generation or massive automation builds.
Why does my server crash after installing mods?
Common causes include mod incompatibility (mixing mods from different Minecraft versions), missing dependencies (library mods not installed), insufficient RAM, or corrupted mod files. Always check the /crash-reports folder for error logs, verify mod compatibility on CurseForge, and ensure your server runs on modern hardware with adequate resources. Re-download mods if corruption is suspected, and test mods individually to isolate conflicts.