Learning how to secure your Minecraft server is essential in 2025 to protect your community from griefers, hackers, and unauthorized access. With the rise of sophisticated attacks targeting game servers, implementing robust security measures—from firewall configuration to player whitelisting—ensures your world remains safe, stable, and enjoyable for legitimate players.
Why Securing Your Minecraft Server Matters in 2025
Minecraft servers have become prime targets for malicious actors seeking to exploit vulnerabilities, steal player data, or disrupt gameplay. As server populations grow and communities invest thousands of hours building intricate worlds, the stakes for security have never been higher. A compromised server can result in data loss, griefing incidents, and erosion of player trust.
Modern threats include DDoS attacks that overwhelm server resources, brute-force login attempts targeting administrative accounts, and social engineering tactics used to gain operator privileges. Additionally, outdated plugins or server software can contain exploitable vulnerabilities that allow attackers to execute arbitrary code or access sensitive files.
By prioritizing security from the initial setup phase, server administrators can prevent the majority of attacks before they occur. This proactive approach saves time, preserves community integrity, and ensures consistent uptime. Whether you’re running a small private server or a large public network, understanding how to secure Minecraft server infrastructure is a fundamental responsibility.
Common Security Threats Facing Minecraft Servers
- DDoS Attacks: Distributed denial-of-service attacks flood your server with traffic, rendering it inaccessible to legitimate players.
- Unauthorized Access: Weak passwords or missing authentication allow intruders to gain administrative privileges.
- Exploit Abuse: Outdated server software or plugins may contain vulnerabilities that enable code execution or privilege escalation.
- Social Engineering: Attackers manipulate staff members into granting permissions or sharing sensitive information.
- Resource Exhaustion: Malicious players intentionally lag the server through entity spam or exploit duplication glitches.
Hosting providers like Nexus Games include built-in Game Anti-DDoS protection powered by enterprise-grade filtering systems, ensuring your server remains online even during large-scale attacks. Combined with AMD Ryzen 9 7950X3D processors (16 cores, 5.7 GHz boost) and DDR5 ECC RAM, the infrastructure provides both security and performance to handle demanding workloads.

Essential Steps to Secure Minecraft Server Access
The foundation of server security begins with controlling who can access administrative functions and how they authenticate. Implementing layered access controls significantly reduces the attack surface and prevents unauthorized modifications to server files or configurations.
1. Change Default Server Ports and RCON Credentials
Most attackers scan for Minecraft servers running on the default port 25565. Changing this port in your server.properties file adds an immediate layer of obscurity that deters automated scanning tools. Additionally, if you’re using RCON (Remote Console) for server management, ensure the password is complex and unique—never leave it set to the default or a weak value.
server-port=38429
rcon.password=GenerateRandomString64Characters!
enable-rcon=true
rcon.port=25575
Ensure the RCON port is not exposed to the public internet. Configure your firewall to allow RCON connections only from trusted IP addresses, such as your administrative workstation or a VPN endpoint. This prevents remote attackers from attempting brute-force authentication even if they discover the port.
2. Implement Whitelist Mode and Two-Factor Authentication
Enabling whitelist mode ensures only approved players can join your server, preventing random griefers or automated bots from connecting. Combine this with authentication plugins that support two-factor authentication (2FA) for administrative accounts, adding a critical second verification layer beyond passwords.
/whitelist on
/whitelist add TrustedPlayer
/whitelist reload
For staff members with elevated permissions, consider plugins like AuthMe Reloaded or LoginSecurity that integrate 2FA via authenticator apps. This prevents account takeovers even if credentials are compromised through phishing or database leaks.
3. Configure Firewall Rules and SSH Key Authentication
If you’re managing your Minecraft server on a VPS or dedicated machine, proper firewall configuration is non-negotiable. Use iptables (Linux) or Windows Firewall to restrict incoming connections to only essential ports: your custom Minecraft port, SSH/RDP for administration, and any management panel ports.
# Allow SSH (port 22) only from specific IP
sudo iptables -A INPUT -p tcp --dport 22 -s 203.0.113.45 -j ACCEPT
sudo iptables -A INPUT -p tcp --dport 22 -j DROP

# Allow Minecraft server on custom port
sudo iptables -A INPUT -p tcp --dport 38429 -j ACCEPT

# Drop all other incoming traffic
sudo iptables -P INPUT DROP
For SSH access, disable password authentication entirely and use SSH key pairs instead. Generate a 4096-bit RSA key on your local machine, copy the public key to the server, and configure /etc/ssh/sshd_config to reject password attempts:
PubkeyAuthentication yes
PasswordAuthentication no
PermitRootLogin no
This ensures that even if an attacker obtains your server IP, they cannot brute-force administrative access without possessing the private key stored on your local device.
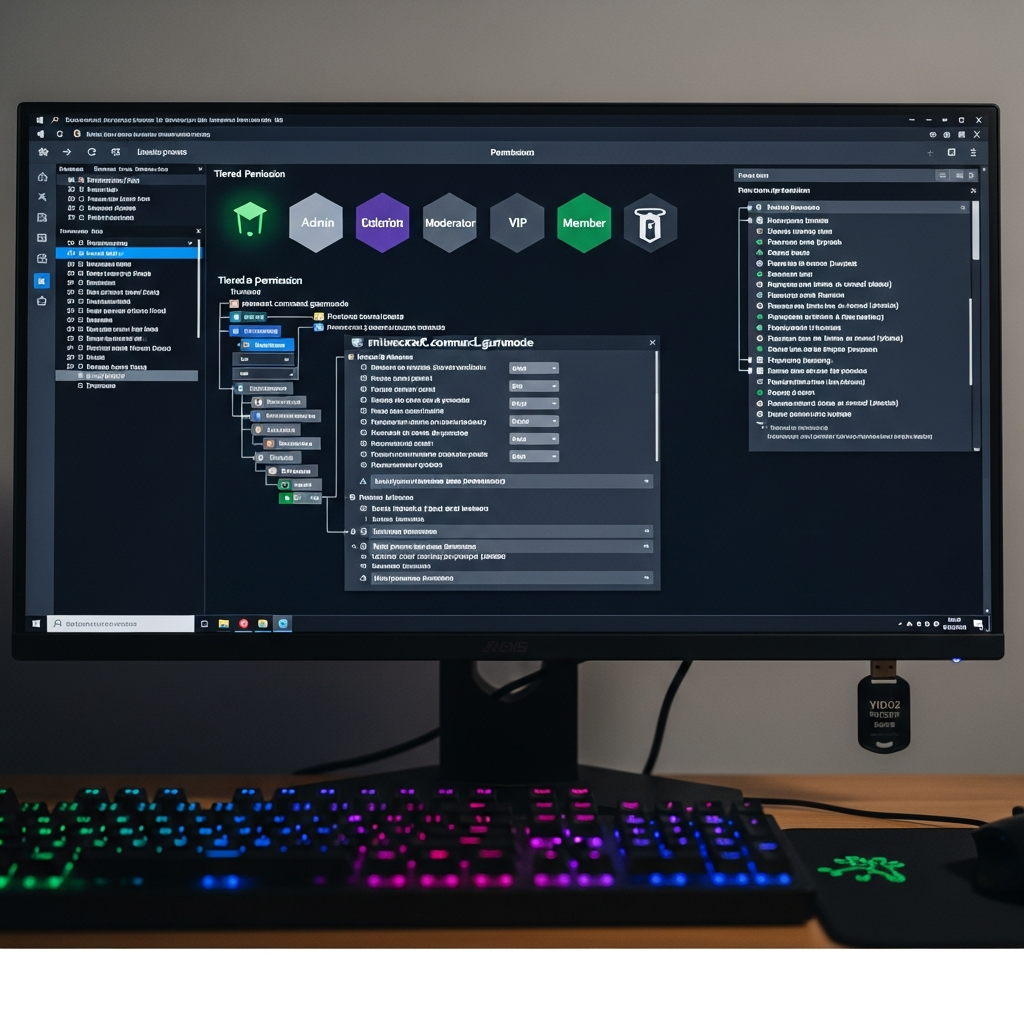
4. Use Permission Management Plugins Correctly
Plugins like LuckPerms or PermissionsEx allow granular control over what commands and features each player can access. Avoid granting broad permissions like * (wildcard) to anyone except the server owner, and regularly audit permission groups to remove unnecessary privileges.
Create tiered permission groups: Default (basic players), Moderator (kick/ban), Admin (server configuration), and Owner (full access). Assign permissions based on the principle of least privilege—users should only have access to what they need to perform their role.
| Group | Permissions | Risk Level |
| Default | essentials.spawn, essentials.home | Low |
| Moderator | essentials.kick, essentials.ban | Medium |
| Admin | essentials.*, worldedit.* | High |
| Owner | * (full server access) | Critical |
Securing Server Software and Plugin Ecosystem
Outdated server software and plugins are among the most common entry points for attackers. Vulnerabilities discovered in older versions can be exploited to execute arbitrary code, bypass authentication, or crash the server. Maintaining an up-to-date and carefully curated plugin ecosystem is essential to secure your Minecraft server against known exploits.
1. Keep Server Software and Plugins Updated
Whether you’re running Paper, Spigot, Fabric, or Forge, regularly check for updates and apply them promptly. Most major server platforms publish changelogs that highlight security fixes—delaying these updates exposes your server to documented vulnerabilities that attackers can easily exploit.
For plugins, subscribe to update notifications on resource platforms like SpigotMC, Modrinth, or CurseForge. Remove any plugins that are no longer maintained or have been abandoned by their developers, as these represent unpatched attack vectors.
If you’re hosting with Nexus Games, the control panel provides one-click installation of pre-configured modpacks from CurseForge, ensuring you’re always running tested, compatible versions. This eliminates the risk of manual installation errors that could introduce security flaws.
2. Audit Plugins for Security Risks
Before installing any plugin, research its reputation, read recent reviews, and verify the developer’s track record. Avoid plugins from unverified sources or those requesting excessive permissions that aren’t justified by their functionality.
Use tools like PluginInspector or manual JAR decompilation (with JD-GUI) to examine plugin code for suspicious behavior: outbound network connections to unknown servers, file system access beyond the plugin’s data folder, or obfuscated code designed to hide malicious intent.
3. Implement Automated Backups and Rollback Procedures
Even with perfect security practices, breaches can occur through zero-day exploits or insider threats. Automated backups ensure you can restore your server to a known-good state within minutes, minimizing data loss and downtime.
Configure daily incremental backups of your world files, plugin configurations, and player data. Store backups on a separate physical server or cloud storage solution to prevent attackers who compromise your main server from also destroying backup copies.
# Example backup script using rsync
rsync -avz /opt/minecraft/world/ /backup/minecraft/$(date +%Y%m%d)/ --delete
rsync -avz /opt/minecraft/plugins/ /backup/minecraft-plugins/$(date +%Y%m%d)/
Test your restoration process monthly to ensure backups are valid and your recovery procedures work as expected. A backup you can’t restore is functionally useless during a crisis.
4. Deploy Anti-Cheat and Anti-Exploit Systems
Plugins like Vulcan, Spartan, or Matrix detect and prevent common exploits: fly hacks, speed hacks, X-ray mining, and combat aura. While no anti-cheat is perfect, they significantly raise the difficulty bar for would-be cheaters and provide detailed logs for investigating suspicious activity.
Configure your anti-cheat conservatively to minimize false positives, which frustrate legitimate players. Regularly review violation logs to identify patterns that might indicate plugin bypasses or new exploit techniques.
Network-Level Security and Infrastructure Hardening
Beyond application-layer security, protecting the underlying network infrastructure ensures attackers can’t bypass your server software protections entirely. This involves selecting hosting providers with robust DDoS mitigation, implementing rate limiting, and using secure protocols for all administrative connections.
1. Choose Hosting with Enterprise-Grade DDoS Protection
DDoS attacks remain the most common threat to Minecraft servers, capable of overwhelming even well-configured servers with volumetric traffic. Basic hosting providers often lack the infrastructure to absorb attacks exceeding 10 Gbps, resulting in hours of downtime.
Premium providers like Nexus Games implement multi-layer DDoS mitigation that filters malicious traffic before it reaches your server. This includes:
- Volumetric Attack Filtering: Identifies and drops UDP/TCP floods targeting game ports.
- Protocol Validation: Ensures incoming packets conform to Minecraft protocol specifications.
- Rate Limiting: Restricts connection attempts per IP to prevent brute-force attacks.
- Geographic Filtering: Blocks traffic from regions unlikely to host legitimate players.
Combined with 1 Gbps network connectivity and NVMe SSD storage, the infrastructure can sustain high player counts while maintaining sub-20ms latency even during attacks. For more information on enterprise hosting solutions, see Minecraft’s official server setup guide.
2. Implement Connection Rate Limiting
Configure your server to limit the number of simultaneous connections from a single IP address, preventing connection exhaustion attacks. In server.properties, adjust these values:
max-players=100
max-world-size=29999984
network-compression-threshold=256
Additionally, use server-side plugins or firewall rules to implement connection throttling—if a single IP attempts more than 5 connections within 10 seconds, temporarily block it for 5 minutes.
3. Encrypt Administrative Connections
Never transmit administrative credentials over unencrypted connections. Use SSH tunnels or VPNs to access your server’s control panel, SFTP for file transfers, and encrypted database connections if running MySQL or PostgreSQL for plugin data.
For web-based control panels, ensure they’re served over HTTPS with valid TLS certificates. Let’s Encrypt provides free certificates that can be automatically renewed, eliminating the excuse for running insecure HTTP admin panels.
4. Monitor Server Logs and Set Up Intrusion Detection
Implement real-time log monitoring with tools like Fail2Ban (Linux) or OSSEC to detect suspicious patterns: repeated login failures, unusual command sequences, or unexpected file modifications. Configure automated responses such as temporary IP bans or administrator notifications.
# Fail2Ban jail for Minecraft server
[minecraft]
enabled = true
port = 38429
filter = minecraft
logpath = /opt/minecraft/logs/latest.log
maxretry = 5
bantime = 3600
Regularly review aggregated logs to identify emerging threats or configuration weaknesses. A well-monitored server allows you to respond to incidents within minutes rather than discovering breaches days later through player reports.
Conclusion
Securing your Minecraft server in 2025 requires a multi-layered approach combining access controls, software hygiene, network hardening, and continuous monitoring. By implementing whitelisting, strong authentication, regular updates, DDoS protection, and intrusion detection systems, you create a resilient environment that protects your community’s investment. Remember that security is an ongoing process—regular audits and staying informed about emerging threats ensure your server remains a safe, enjoyable space for all players.
FAQ
What’s the most critical security measure for a new Minecraft server?
Enabling whitelist mode and changing default ports are the highest-impact first steps. These prevent unauthorized access and make your server invisible to automated scanning tools that target default configurations. Combine with strong RCON passwords and firewall rules to establish a secure baseline.
How often should I update my Minecraft server plugins?
Check for plugin updates at least weekly, and apply critical security patches immediately upon release. Subscribe to update notifications from your plugin sources and maintain a staging server to test updates before deploying to production, ensuring compatibility while staying protected against known vulnerabilities.
Can I secure a Minecraft server without technical expertise?
Yes—managed hosting providers like Nexus Games include pre-configured security features such as DDoS protection, automated backups, and one-click plugin management. Their 24/7 support team can assist with advanced configurations, letting you focus on building your community while professionals handle infrastructure security.